Holidays mean time for ActiveSG’s classes again! This year with everyone unable to travel, the demand for holiday programmes is really high. We were fortunate to secure spots for ActiveSG’s aeromodelling programme.
ActiveSG’s aeromodelling programme is run by Just Fly It, whose team of instructors also include pilots! The workshop was to make a glider and then learn the correct technique to fly it. The 3-hour course was a great introduction to aerodynamics and it gave the kids much satisfaction flying their own creations.
Introduction to Aerodynamics at ActiveSG’s Aeromodelling Class
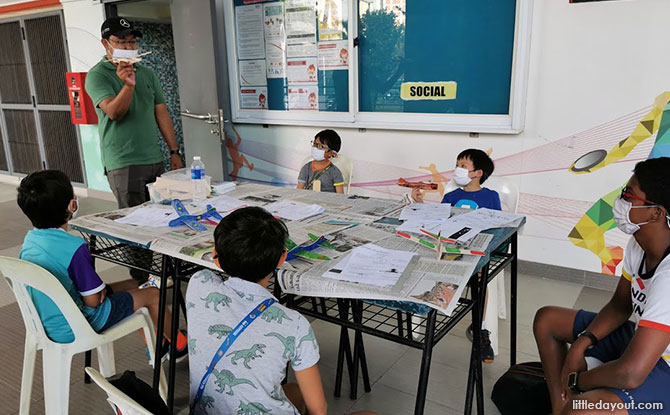
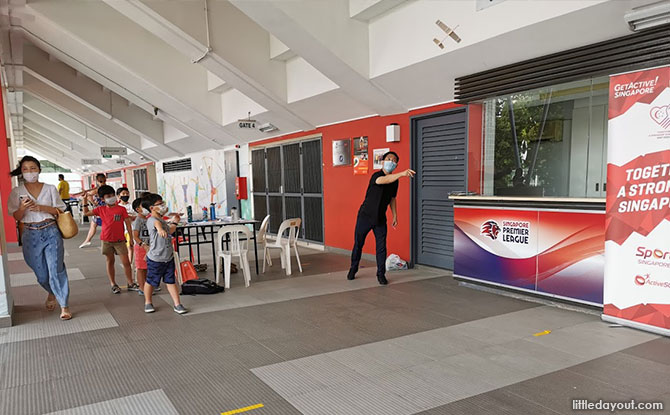
The children were first divided into groups of five based on their ages. Each instructor ensured the pace of the lesson was age-appropriate and inserted anecdotes to spice up their lessons.
Year-end Holiday Camps: Discover Fun and Exciting Camps for Kids; Book Early
Dec Fun: Get the Best Ideas for the School Holidays
As a parent observing, I felt that the class was well-structured. First, the children were introduced to parts of the glider – its fin, wing, fuselage, tail and weight. Gliders do not have engines, which makes them different from other kinds of planes with propellers or engines.
The children also learnt about forces like lift, thrust, drag to fly. They were also taught the 3 axis of flight – vertical, longitudinal and lateral. This gives them a better understanding of concepts required before beginning to build their own gliders.
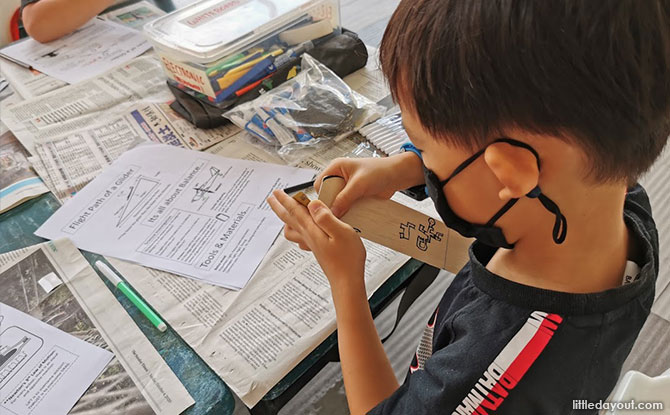
The younger ones started with sandpapering the Balsa wood pieces given to them. Balsa wood is a suitable material for making gliders due to its light weight, strength and porousness. Sandpapering helps make the pieces smooth, causing the glider to glide faster with less drag.
Designing the Planes
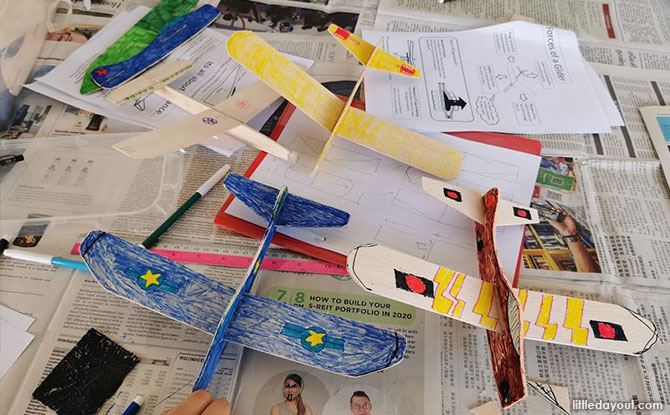
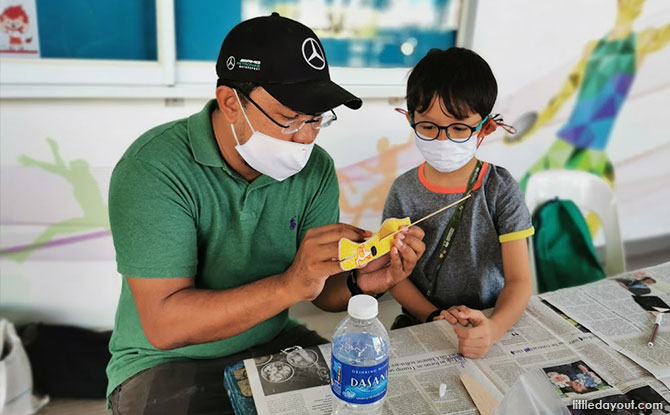
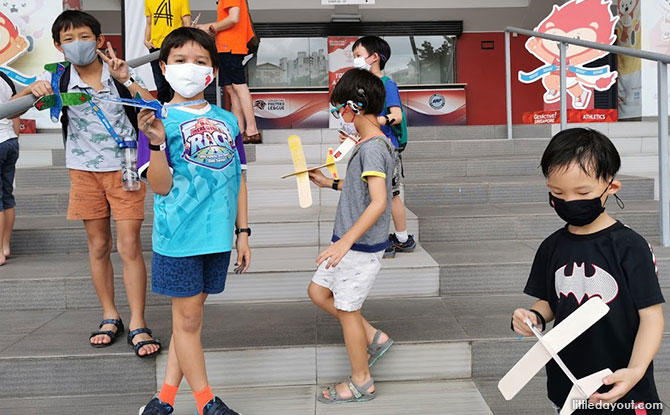
One of the fun bits was designing planes. Older ones could cut the wood pieces into more aerodynamic shapes like sharper wingtips or round off edges of the fin. The younger ones drew on their planes after sandpapering and then glued the pieces together with the instructors assisting with the glueing. Warning: The superglue may stick to the skin.
There were planes of different shapes, one an Air France Concorde, another a Singapore Airlines plane and other military jets.
The final thing to do before flying the plane was to put on the weight. This balances the plane so it can fly in a straight line. The children had to figure out the amount of weight to put at the nose of the glider. The glider cannot be too nose heavy nor tail heavy. Otherwise, it can drop too quickly or climb too fast.
Flight Time!
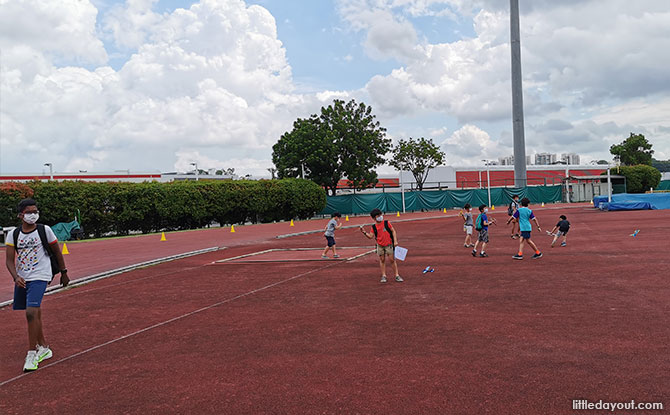
Next was learning how to fly the glider. The children first learnt about how it flies – the faster it flies, the faster it descents. The “throwing” technique has to be correct for the plane to fly. After a few attempts, the kids learnt to “release” rather than throw them nose down. It was really satisfying to see the gliders glide, some even turned and swerved indicating uneven weight distribution. The children had to adjust their weights, again and again, to attempt flying the gliders in the direction they preferred.
After the trial flight, the kids could compete on whose plane flies the furthest. They also went to the more open space to attempt flying their new gliders.
Review of the Aeromodelling ActiveSG Session
I like how the affordably priced session gave the children insight into aviation and it was a very hands-on Science lesson. To maximise the learning and be fully immersed in the experience, I would recommend it for children above 7. My sons definitely enjoyed the workshop and they are proud to have made their very first planes!
For more on ActiveSG school holiday programmes, click here.


