The Year of the Dragon roars to life on 10 February 2024. How about creating a 3D dragon Chinese New Year craft with the kids to add to the festivities?
This craft idea was thought up by my 12-year-old, using materials sourced from our home. I built on her concept to streamline the design and add the final touches. It was a fun mother-daughter collaboration!
We hope you will enjoy the process and be amazed by the result!
Materials Needed for 3D Dragon Chinese New Year Craft
These are the simple materials that we used for the creative exploration:
- Paper towel rolls
- Disposable chopsticks
- Crepe paper
- Angpow packet
Making the 3D Dragon: A Step-by-Step Guide
We built the dragon’s head and body separately, before joining them together and adding the final decorative touches.
Here are the steps for our 3D dragon Chinese New Year craft:
Body of Dragon
Step 1
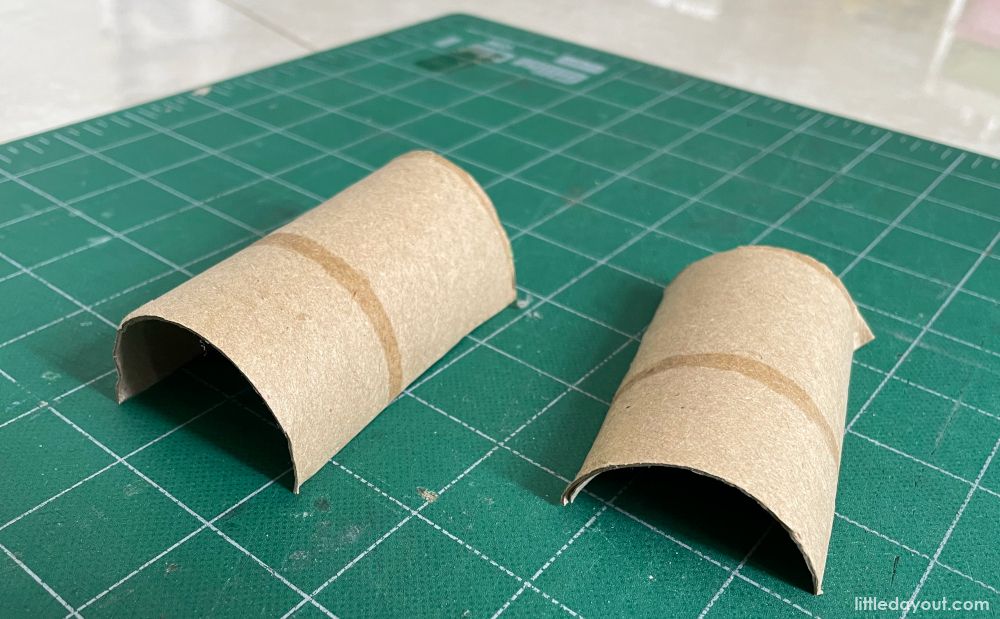
Cut a paper towel roll into 4 cylindrical parts. These will form the first 4 segments of the dragon’s body.
Step 2
For the first segment of the body, cut two slits at one end like this.
Step 3
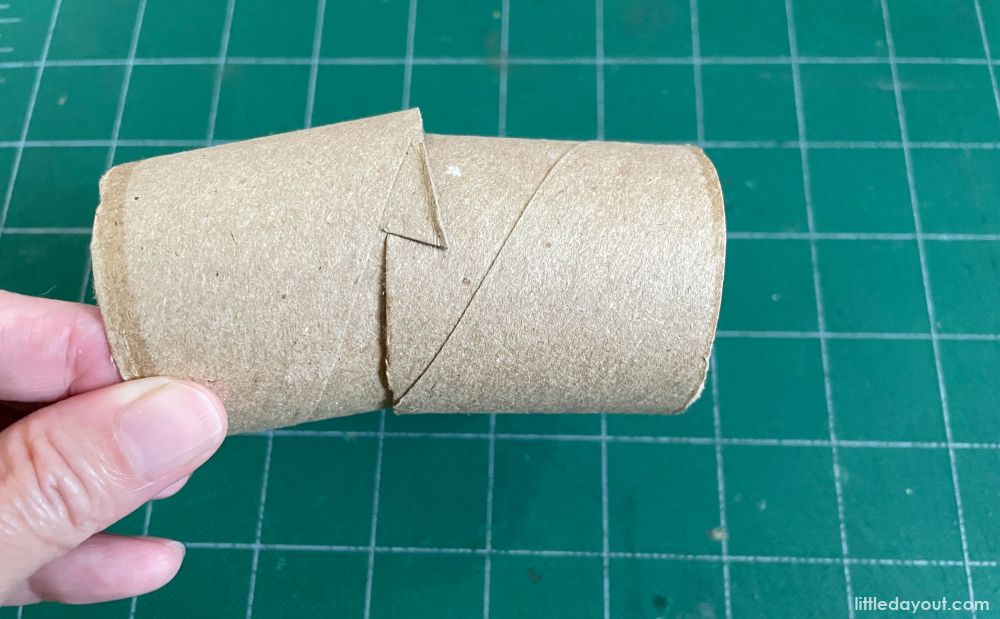
Using the slits as a catch, connect the first and second segments together like this.
Step 4
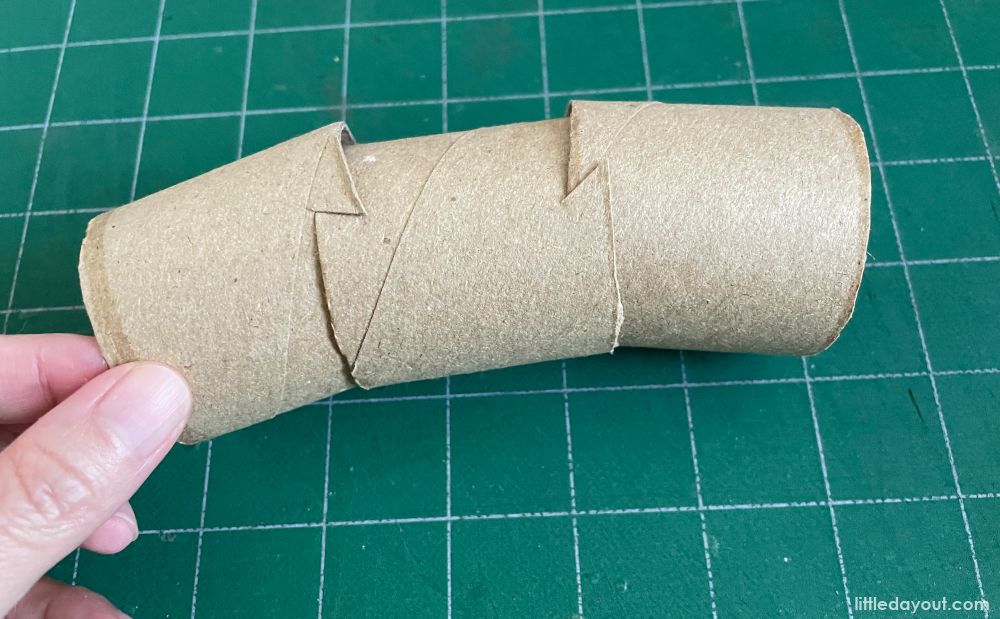
Cut two slits on the third segment. Then connect the first three segments of the body together, as shown in the picture.
Step 5
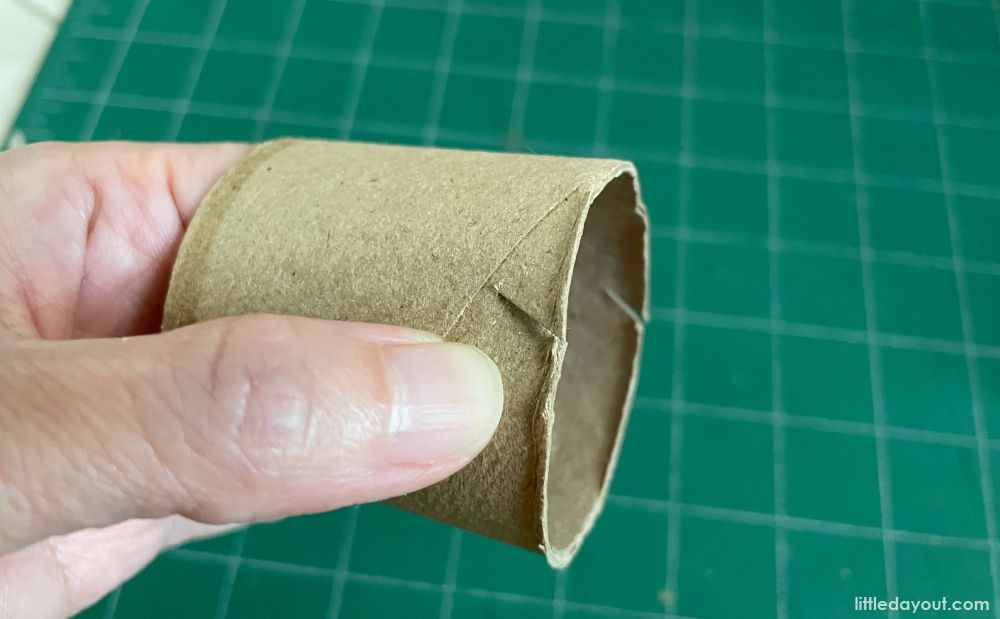
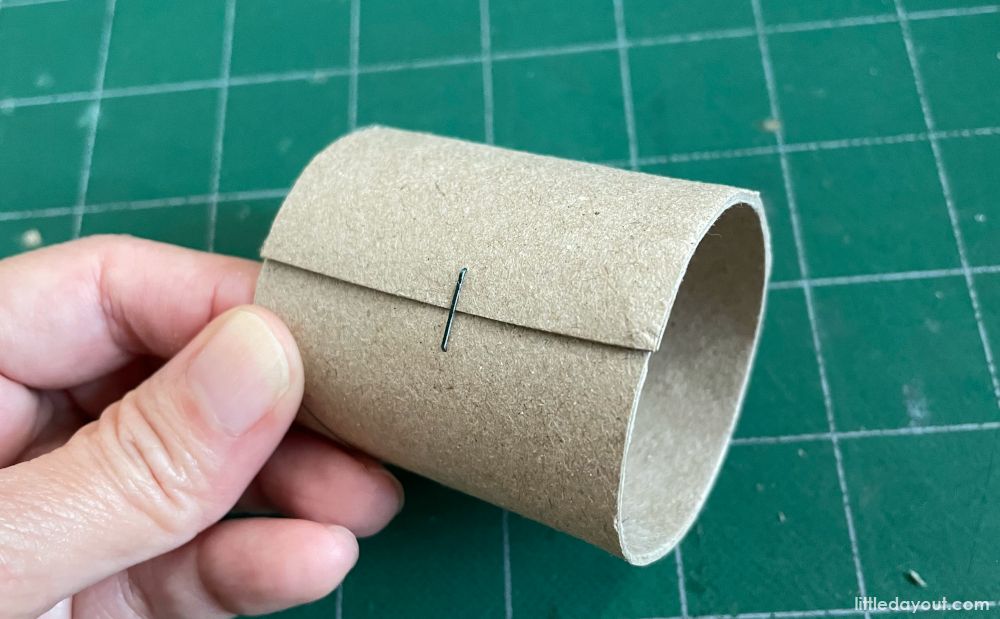
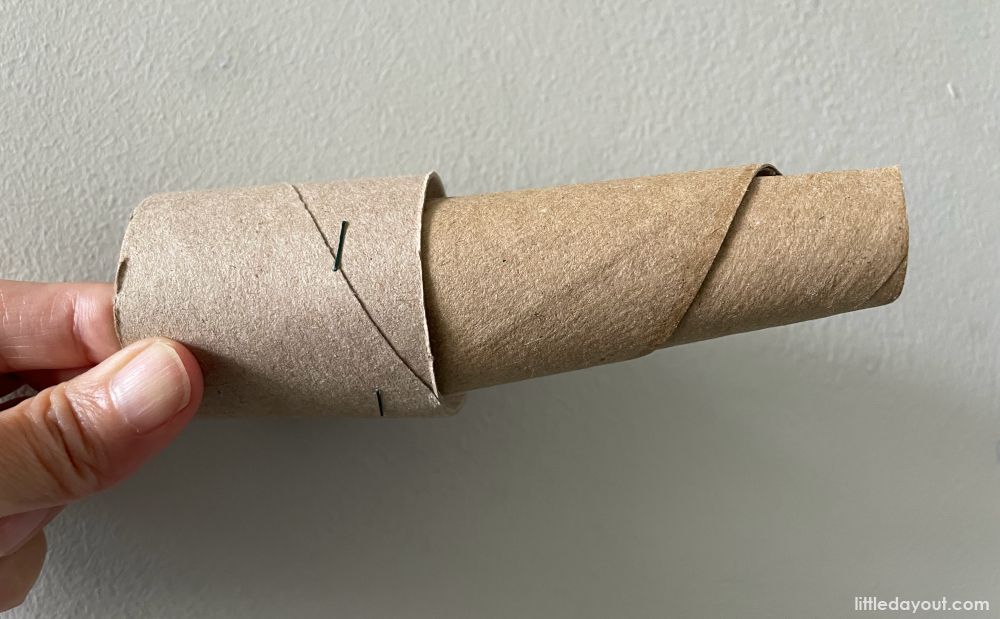
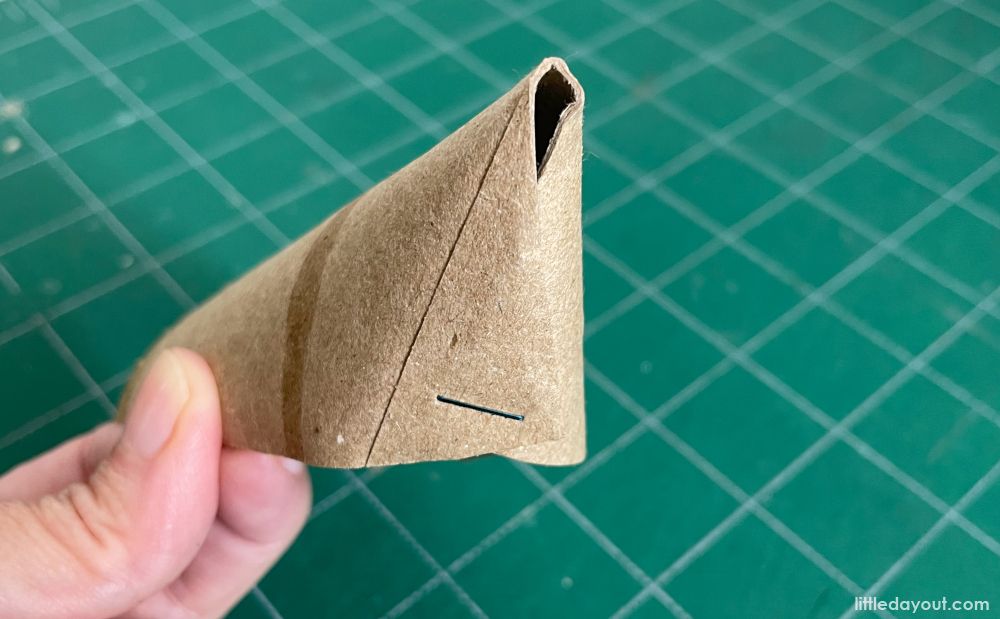
For the fourth segment, make a cut down its length so that you can staple the ends together. This way, it will have a smaller diameter and can be fitted into the third segment.
Step 6
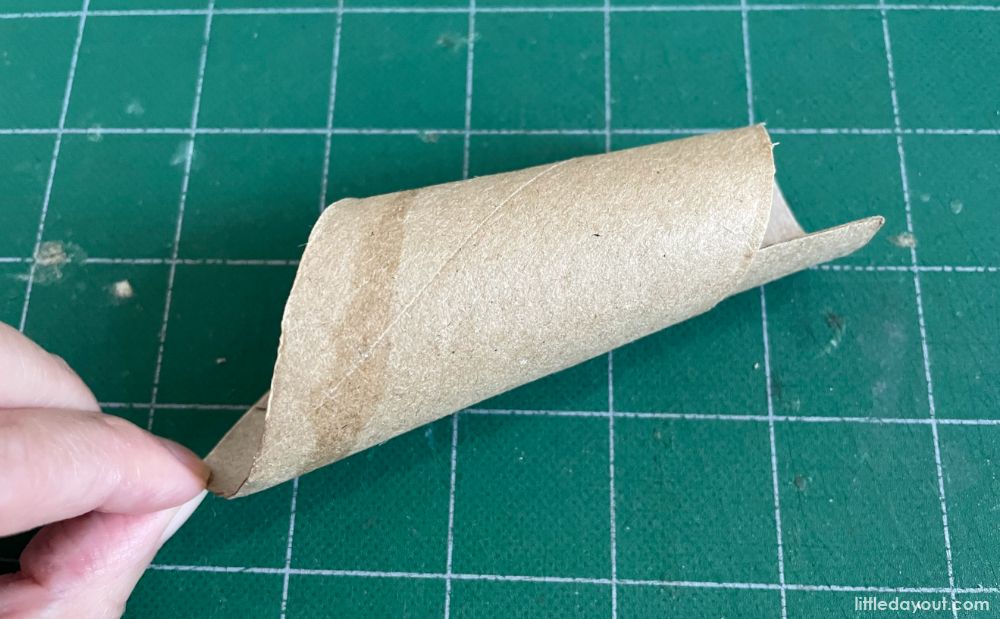
Cut a fifth segment from another paper towel roll. Make a cut down its length, then twist it following an oblique axis to achieve a tapering look for the tail end of the body.
Step 7
Fit the tail segment into the fourth segment, using a staple or two to secure its position.
Step 8
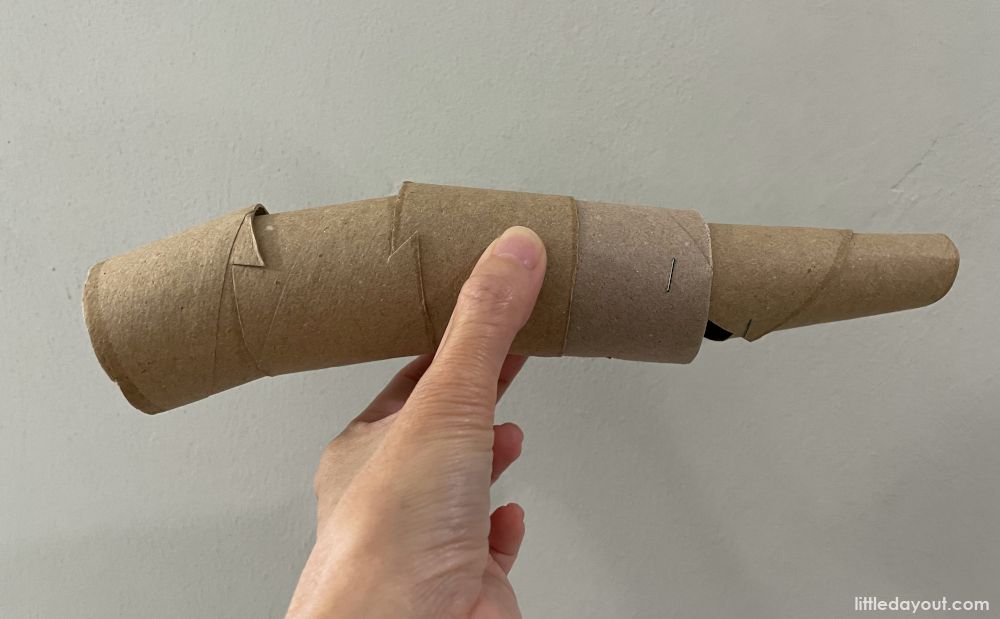
After putting all five segments together, the body should look like this.
Step 9
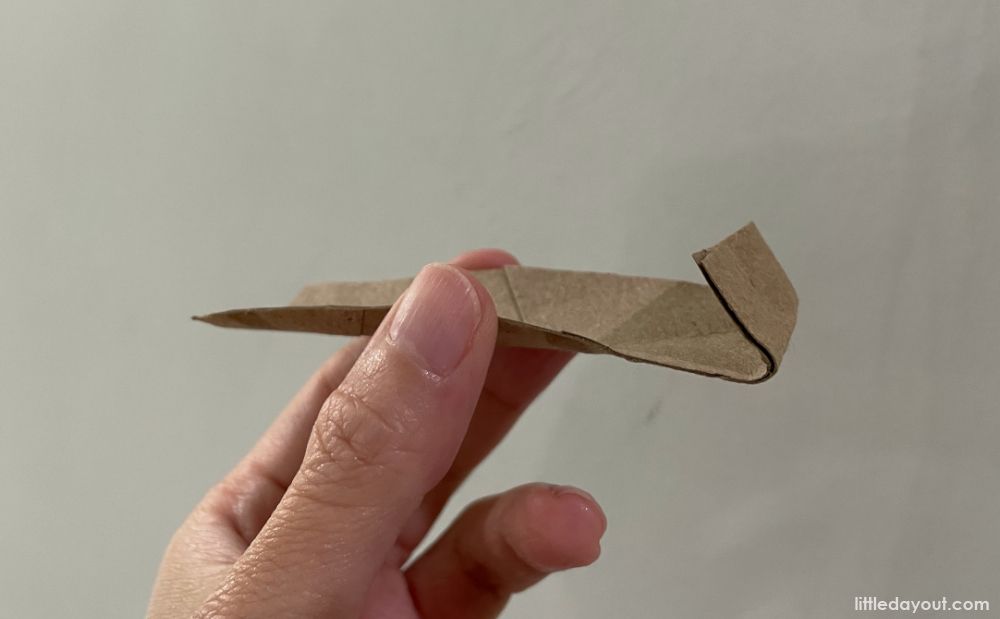
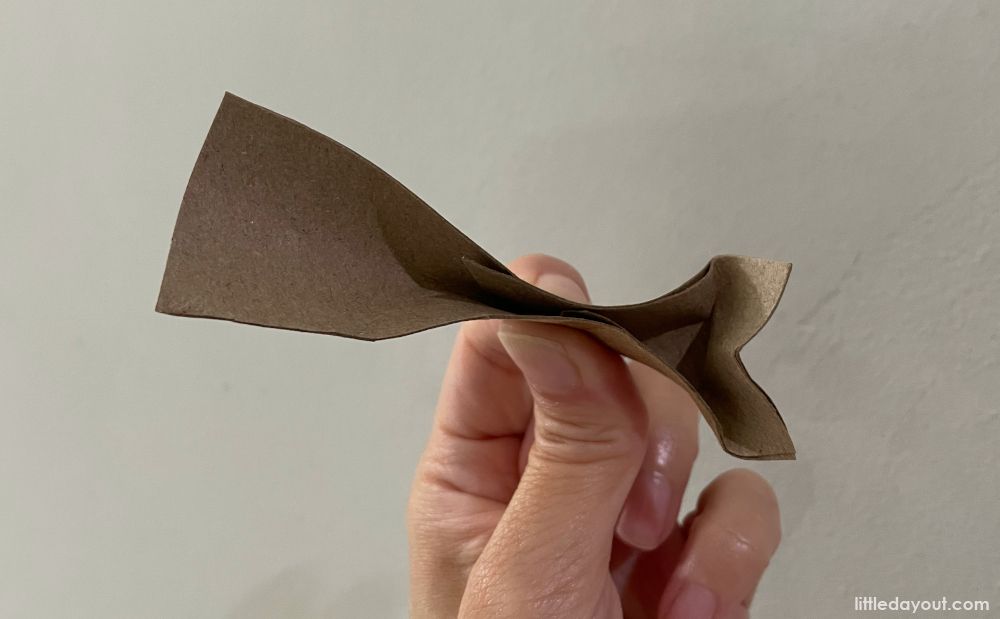
To make the legs of the dragon, cut a 10 cm x 3 cm strip from the paper towel roll. At about 1.5 cm from one end of the strip, make a fold this way.
Step 10
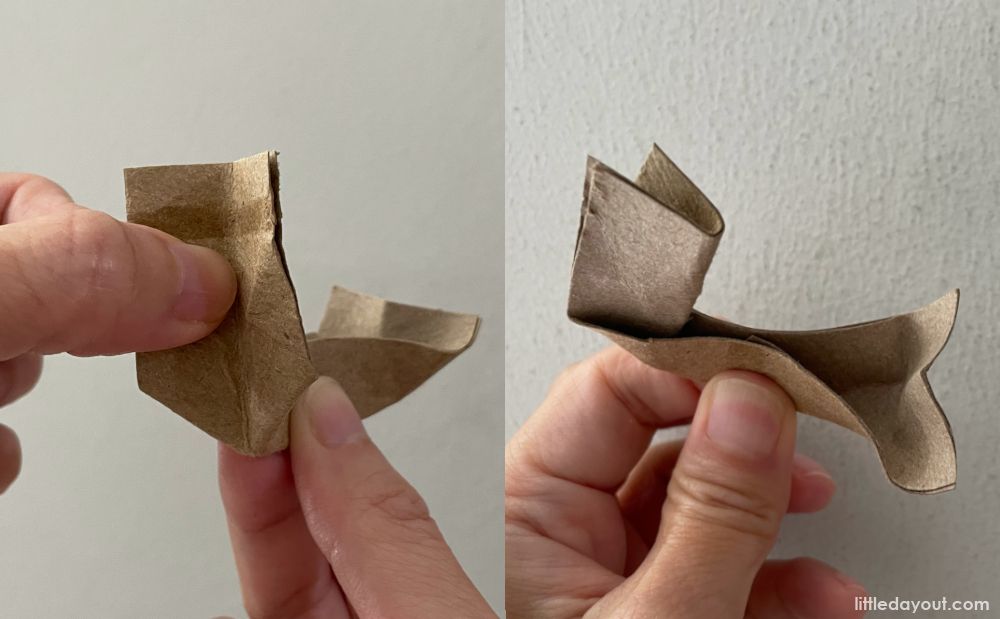
Roughly divide the portion above the fold into two halves. Squeeze the part that is adjacent to the fold this way. Then make a ridge at the folded part, as shown in the picture.
Step 11
Bend the other part 90 degrees while making an inward fold this way. Note: this fold line should be in the opposite direction as the one in the middle segment. The completed piece will become one of the hind legs of the dragon.
Step 12
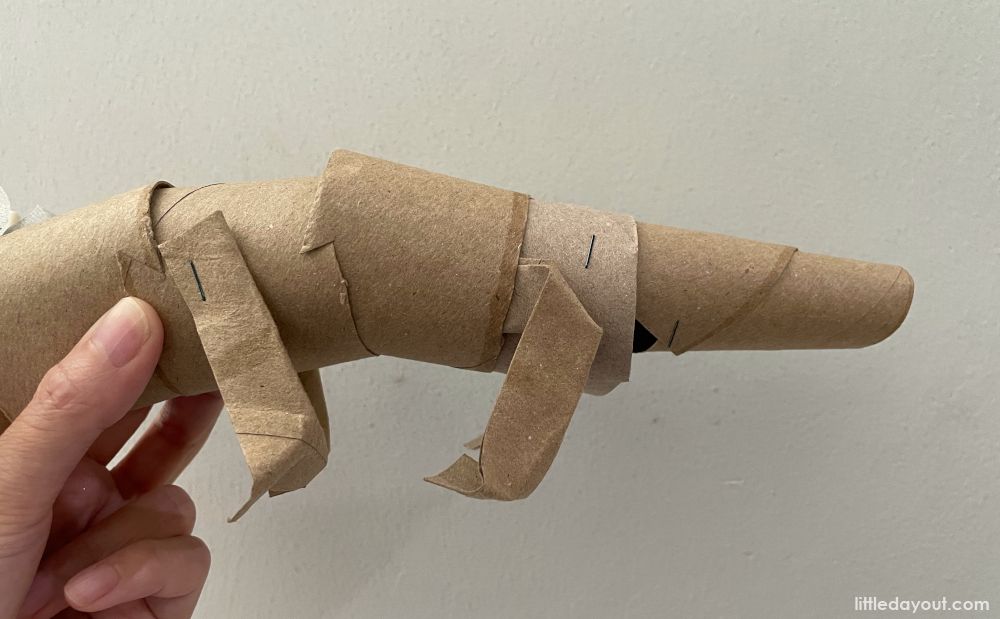
Make another hind leg. Then slot both into the body, as shown in the picture. The front legs can be made in the same way as the hind legs, but without the 90-degree bend. They will need to be attached to the body using staples.
Head of Dragon
Step 1
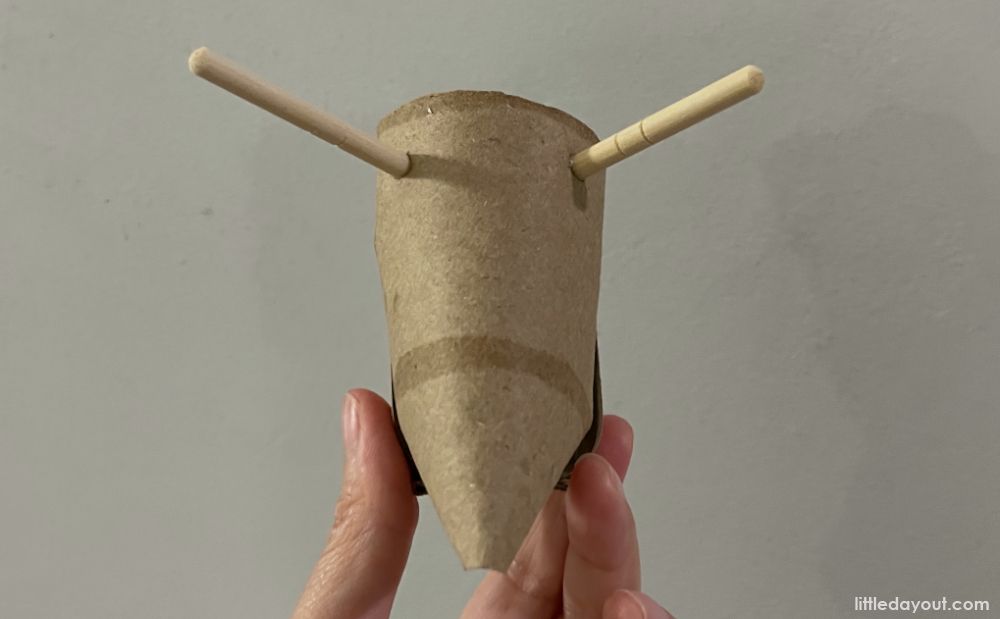
From the remaining paper towel roll, cut off a cylindrical segment that is about 8.5 cm long. Split it into two along its length. The bigger portion will be used for the top part of the head while the smaller portion will become the lower jaw.
Step 2
Fold one end of the bigger portion like this and staple it into place.
Step 3
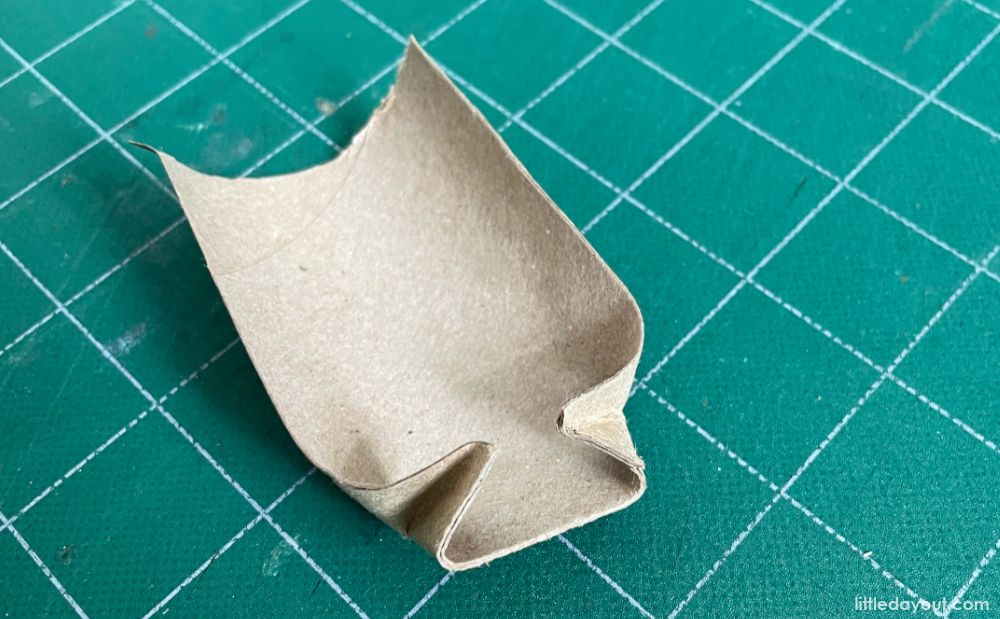
Make folds in the smaller portion as shown in the picture.
Step 4
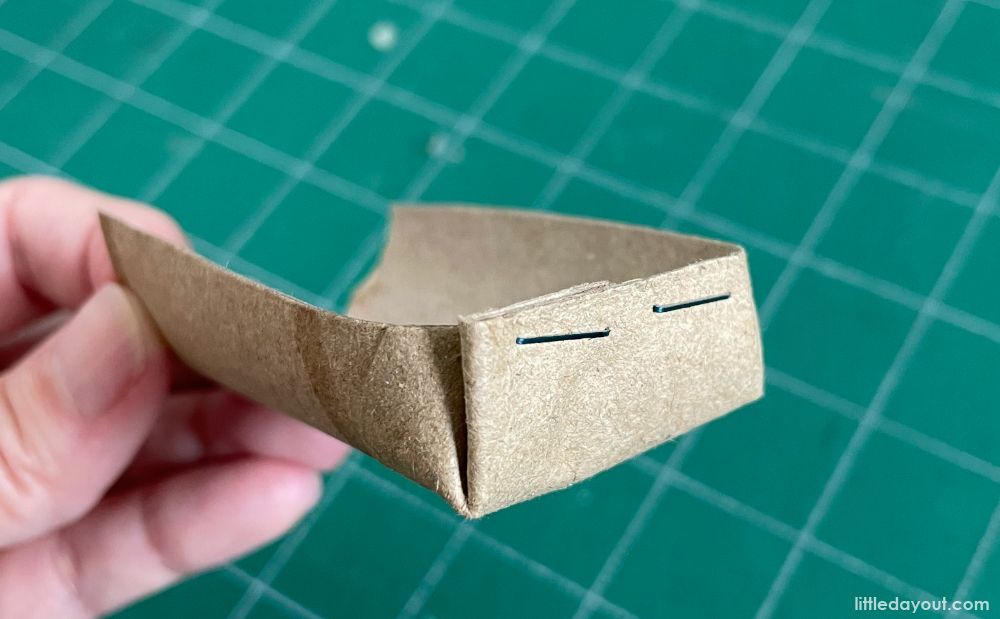
Staple it into shape.
Step 5
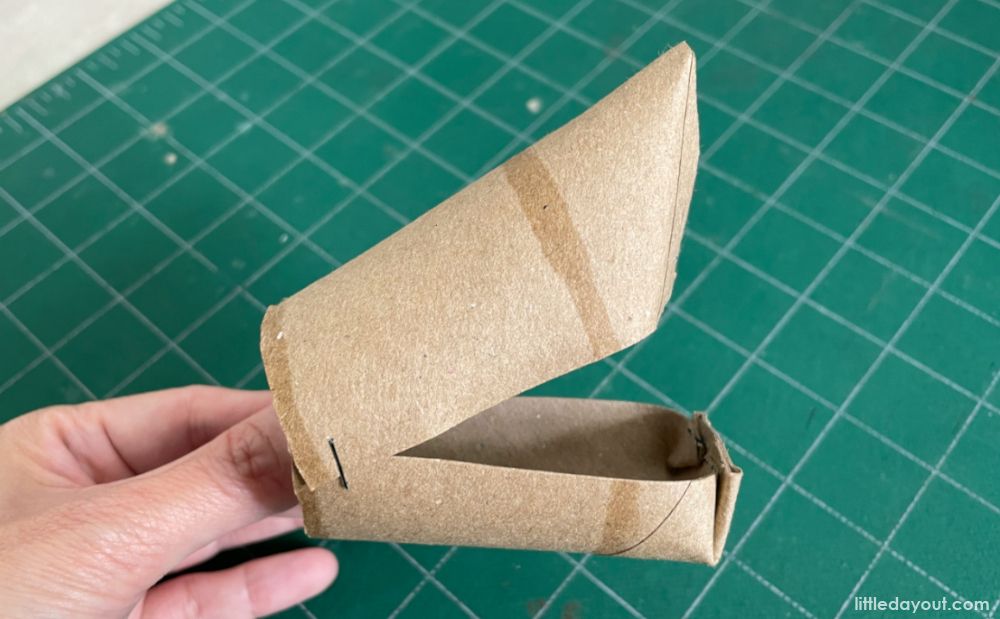
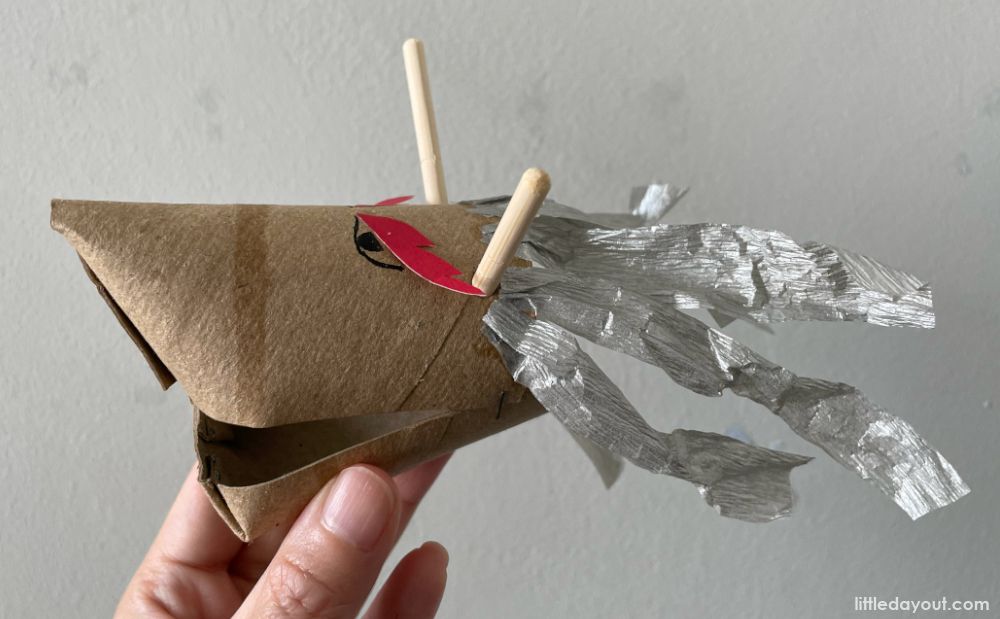
Join the top part of the head and the lower jaw using staples. When stapled in the way shown in the picture, the mouth can even open and close!
Step 6
Mark the spots where the horns of the dragon will be. Use a pen-knife to make the initial cuts, then widen the hole using a pen – just enough for disposable chopstick stumps to be inserted.
Step 7
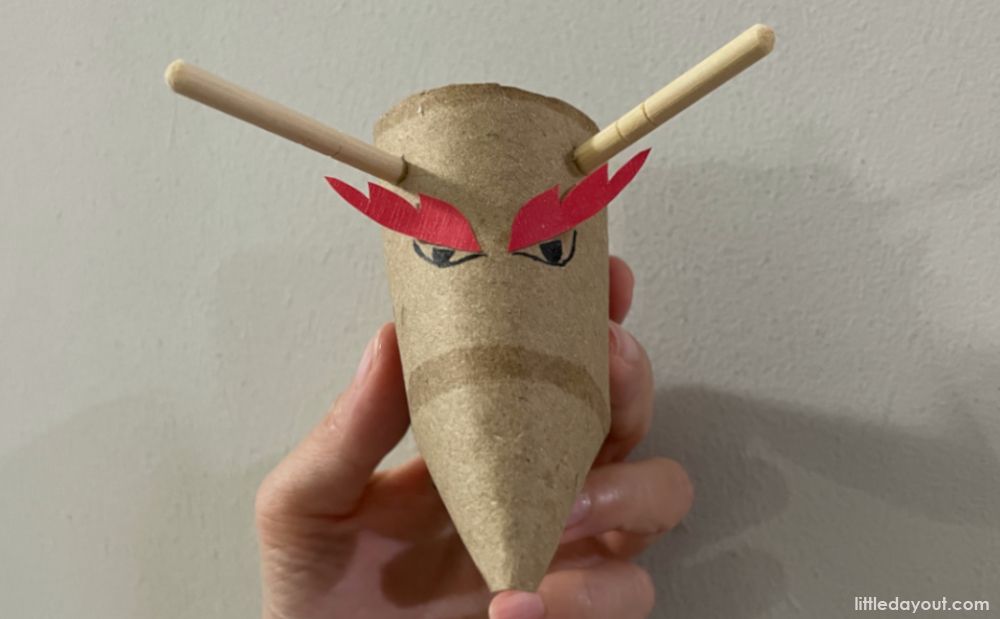
Cut out fierce-looking and bushy eyebrows from an angpow packet and stick them on the top part of the head. Draw the eyes.
Step 8
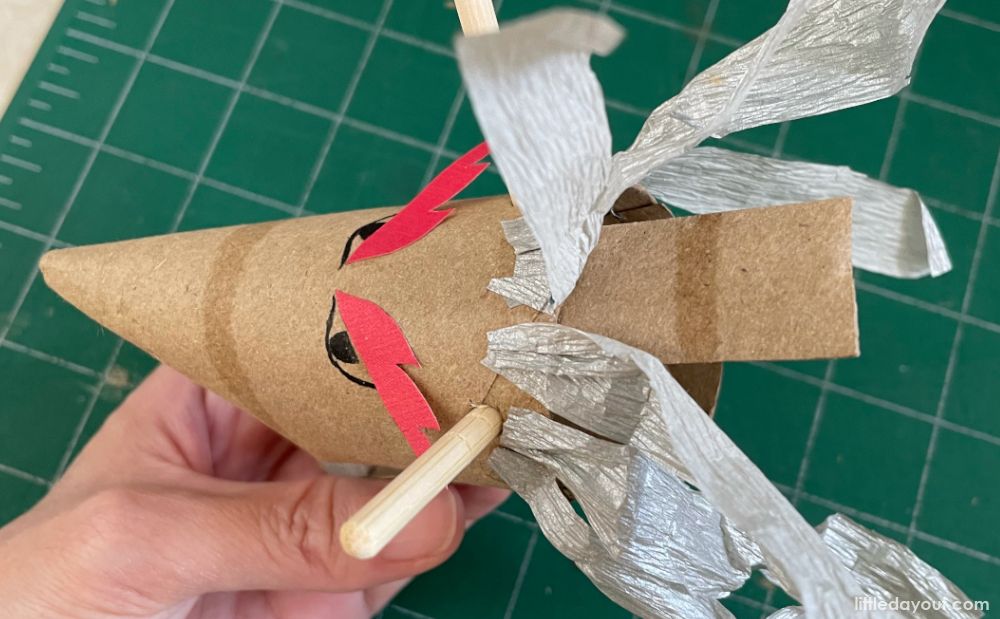
Stick strips of crepe paper of varying lengths on the head segment to give the dragon its dramatic mane.
Joining the Body and the Head of the Dragon
Step 1
To connect the head to the body, cut out a small strip, of about 5 cm in length, from the paper towel roll. Stick one end of the strip to the head as shown. The other end should be attached to the body.
Step 2
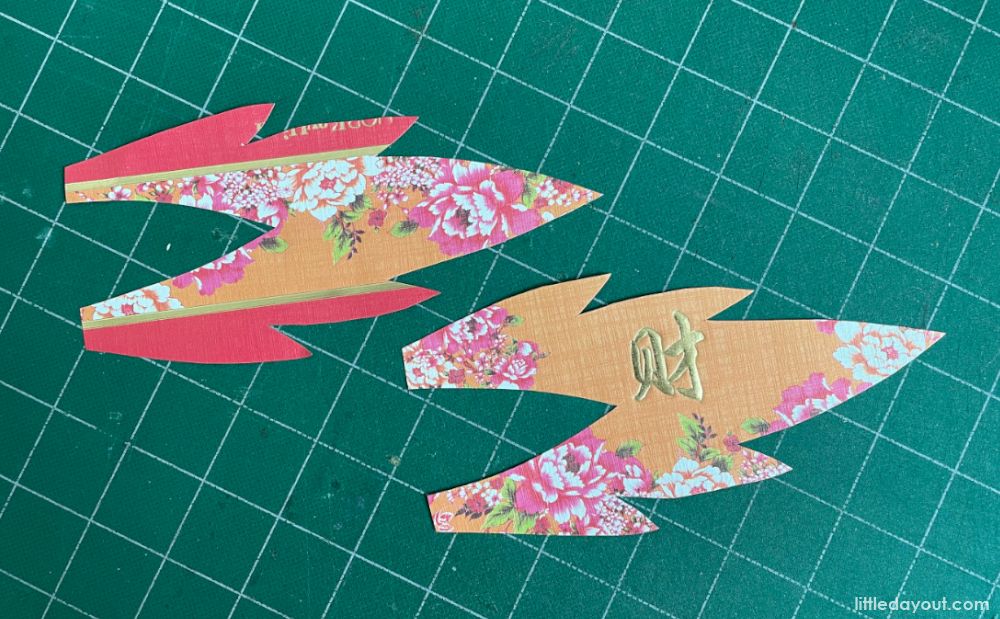
Cut two identical tail patterns from the angpow packet.
Step 3

Glue the tips and edges of the tail pieces together to make a tail cover. There may be a need to use staples for reinforcement. Pull the tail cover over the tail end of the body and voila – your very own 3D dragon is born! It can even stand on its own!
With this 3D dragon Chinese New Year craft, we wish everyone a very blessed Year of the Dragon and a joyous season of celebration!
If you enjoyed this story, you may also enjoy these other Chinese New Year crafts.


