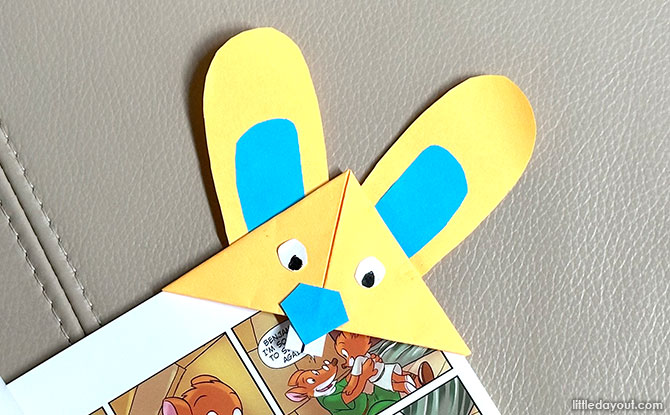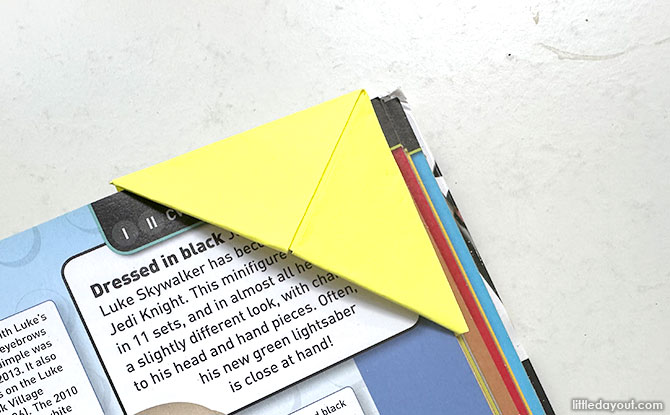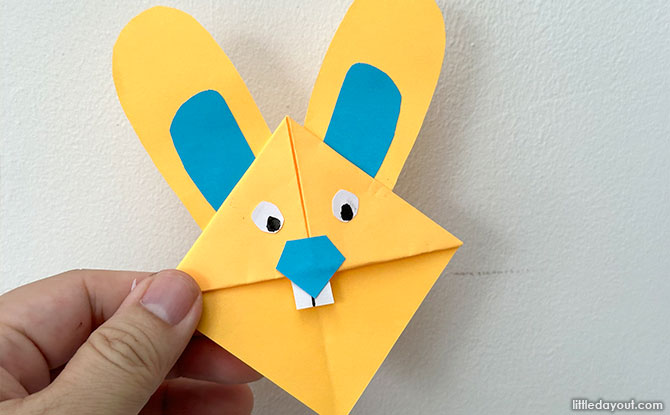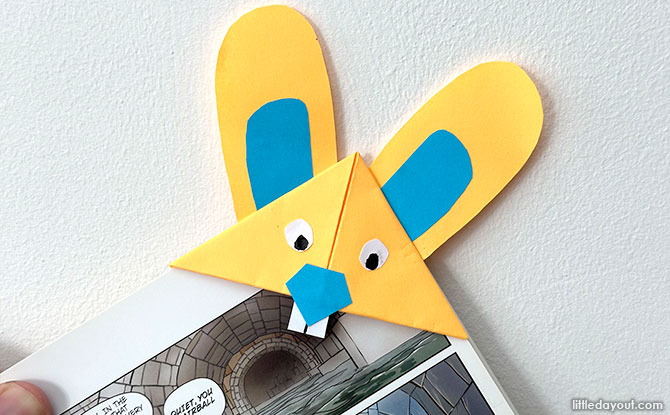
Looking to have some fun with the kids with crafts? How about an easy bunny corner bookmark that kids can customise. It is an especially fun craft if you are thinking of doing an Easter craft or a cute activity for any rabbit loving kid.
Allowing kids to create their own custom bookmark also encourages them to read. They will want to go off an find a book to use the cut bunny origami bookmark that they have made.
Kids will certainly get excited by simple yet engaging projects like these. DIY corner bookmarks are easy to do and useful too. Kids can fold, design and decorate the bookmarks to their own personal taste. And this DIY bunny corner bookmark is the perfect chance for them to exercise their creativity.
Whether you are a parent making it with your child or a teacher who is doing it in the classroom, we are sure that you will have with this bunny corner bookmark.
CARNIVAL OF CHRISTMAS CHEER: Celebrate and Win at Plantation Plaza and Northshore Plaza!
SNOW MUCH TO CELEBRATE: Christmas Fun at The Centrepoint
Bunny Corner Bookmark: A DIY Craft for Easter and Other Occasions
You only need simple materials that you can find at home for this bunny corner bookmark craft. Here is what you will need to get started:
- origami paper. If you don’t have origami paper, you can take a regular sized sheet of paper and cut it into a square.
- white paper. This will be used for the teeth and eyes.
- a black marker
- scissors
- craft glue
Yes, it is as simple as that.
Steps for Making a Bunny Corner Bookmark
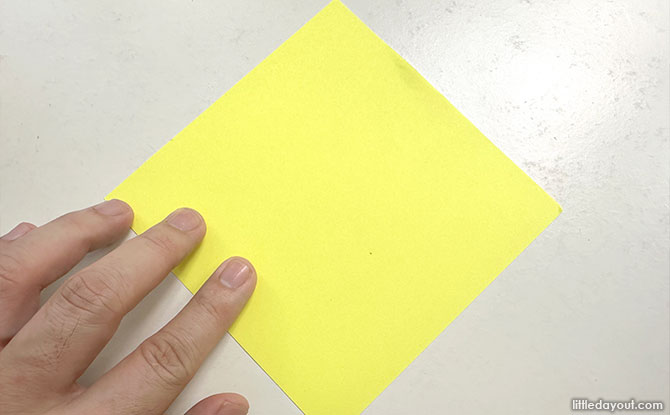
1) The first step of making this bunny corner bookmark is to create the corner bookmark. Start off with a square paper.
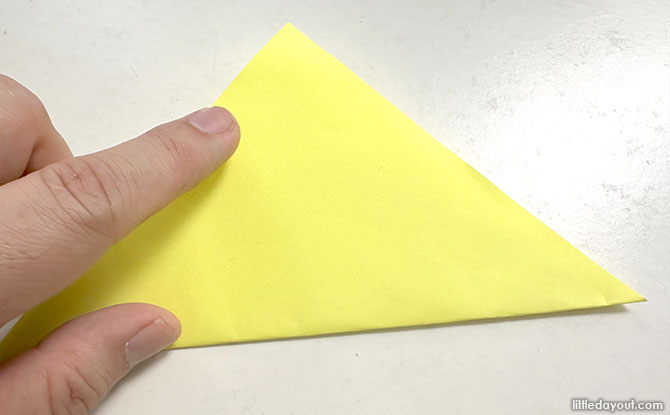
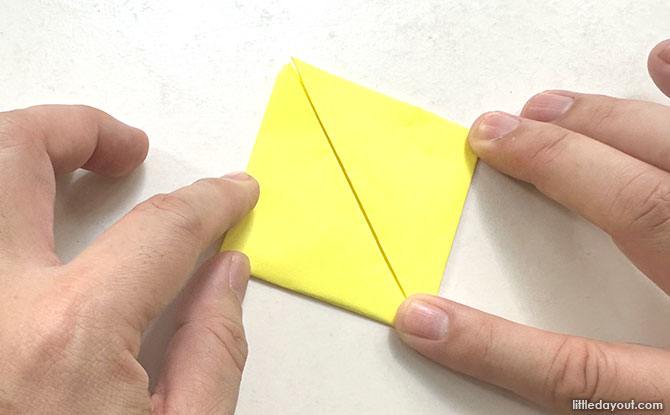
2) Fold it in half to form a triangle.
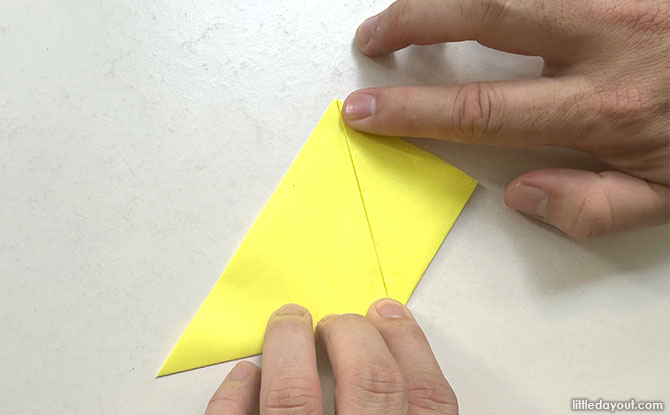
3) Grab hold one corner of the triangle fold it up towards the top of the triangle and create a crease.
4) Repeat for the other corner.
5) Open up both sides so that you are back to the original triangle shape.
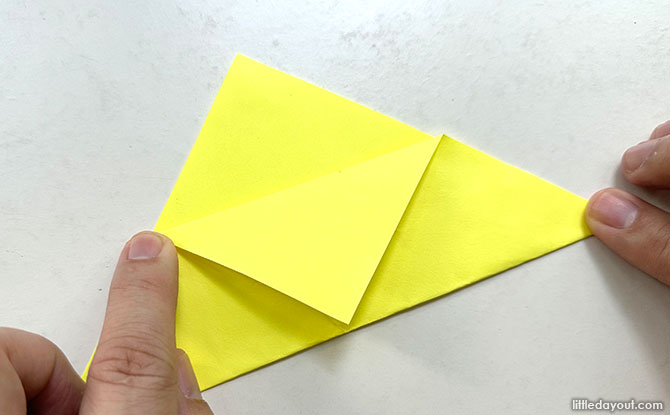
6) Take the top of the triangle and fold down one sheet to the bottom of the triangle.
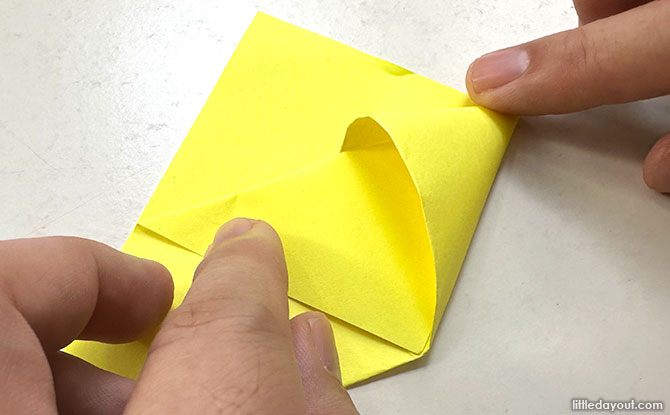
7) Now, take one of the corners of the triangle and tuck it into the pocket created by the folded down sheet. Fold and crease it in.
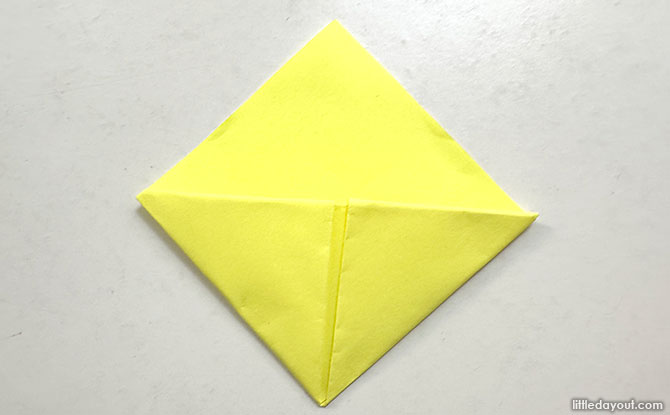
8) Repeat for the other corner. Now you have your basic origami corner bookmark.
9) We will now turn this corner bookmark into a bunny bookmark. To do so, you will need to create the ears, teeth, nose and eyes.
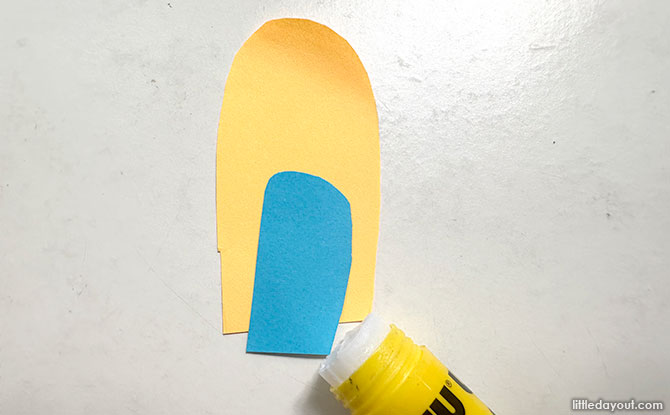
10) Start by cutting out the ears. You can use a contrasting colored sheet of paper and cut out the outline of the ears. One tip is to fold the paper in half before cutting so that you can cut once to get two perfectly similar shaped ears. You will need two sets of cut-outs: one for the overall ear and one for the inside of the ear. Stick the ears on to the bunny bookmark.
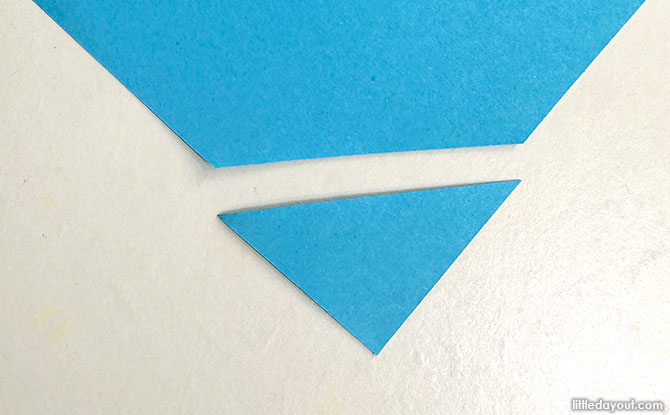
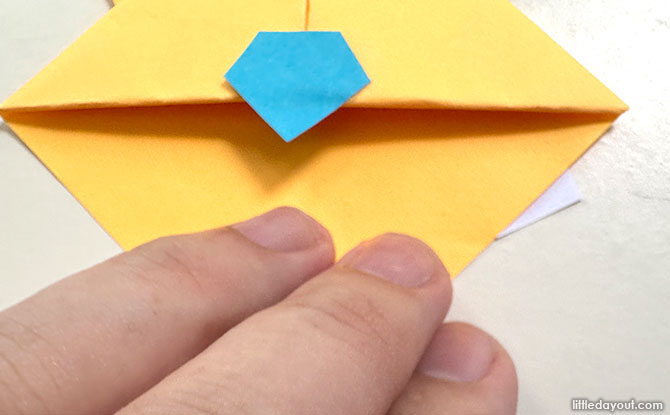
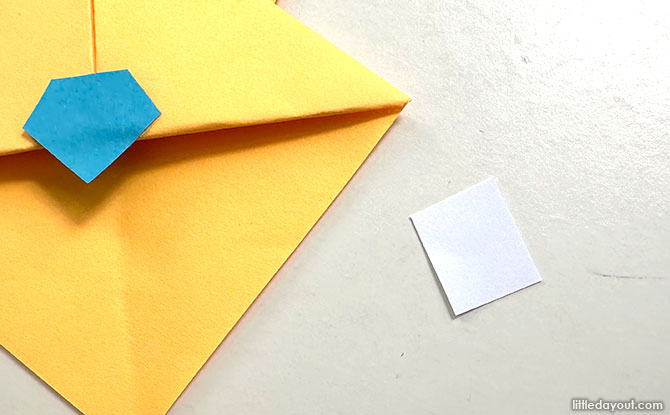
11) Next is to create the nose. The easiest way that we have found is to cut a triangular piece out of the corner of a piece of paper. Then use the scissors to shape it into a “Superman” diamond shape.
12) Once you have the nose, stick it to the bunny bookmark.
13) The teeth of the bunny bookmark can be cut out from the white sheet of paper. Draw a line down the center to create a pair of teeth. Glue this on to the bunny bookmark.
15) Lastly create a pair of eyes from the white paper. Use the market to draw in the irises. Glue this on to complete the bunny bookmark.
There you have it! This is a fun and easy to do craft that you can do with kids. It is a great Easter craft idea and also a useful bookmark that kids can make use of on a day-to-day basis!
Happy crafting!
If you enjoyed this craft, you may also enjoy this other Easter bunny craft.


