Children of all ages benefit from sensory play which often stimulates a few – if not, all – of the senses at any one time. Sensory play hones a child’s thinking skills, and helps develop his or her fine motor skills and gross motor skills.
Sensory play activities can be very simple to set up, and usually only require a handful of items that you probably already have at home (yay to upcycling and reusing!).
Yes, some sensory play ideas are messy but simply limiting your child’s play space, and the mess can be minimal.
For example, my daughter just turned two, and we still paint only in the shower! She gets to put her hands and feet in the paint, and then proceeds to paint the walls, her tummy, her face… It’s a right mess but everything gets washed away easily, and
she has a great time! Win-win!
GIVEAWAY: Stand to Win Family Tickets to ZOOOM by Patch Theatre Worth $200
3 Recycling Adventures: Fun Ideas For Kids & Families
1:1 & Small Group English Lessons: How to Get Personalised, English Help
Sensory Play Ideas That You Can Do At Home
While you may be interested in baby and toddler playgroups, there are also some activities that you can do at home.
Here are some easy sensory play ideas for you and your child to enjoy. Give them a go and let us know what your favourite is!
Homemade Play Dough
You’ll need:
1 cup plain flour
½ cup table salt
1 tbsp cream of tartar
1 tbsp oil
1 cup boiling water
A few drops of food coloring (Optional)
A few drops of essential oil (Optional)
Method:
1. Mix dry ingredients in a large bowl.
2. Make a well in the centre, and add oil.
3. Pour in boiling water and mix. It will look like a gloopy mess but don’t add more flour just yet! Let the flour mixture sit for a few minutes, then keep mixing. It will firm up eventually.
4. When you see the play dough coming together, you can add some food colouring of your
choice. I use gel food colouring, which doesn’t mess up the consistency of the dough too much.
5. I also add a drop of essential oil but if your baby is going to be playing with it, leave this
out since they probably will mouth the play dough.
6. Take the dough out of the bowl and knead it a little more to form a ball.
7. Play!
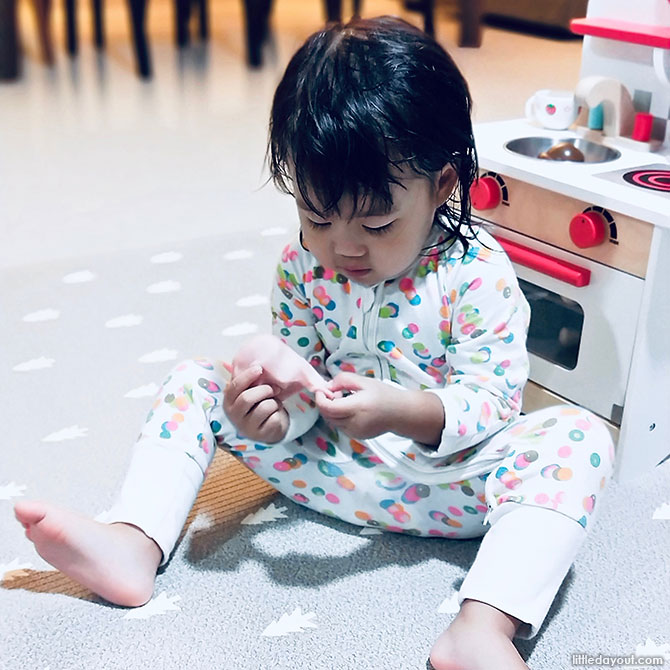
My daughter has been playing with homemade play dough for some time now but even at this age of two, she’s still just rolling it around on the table, squishing it with her fingers, and occasionally using the play dough cutters I leave out for her.
A part of sensory play is about introducing the little ones to texture, and exposing them to new things really. If you can help it, let play time be unstructured. I usually sit with my daughter and ask if there’s something she’d like me to do or make with the play dough.
Otherwise, I’ll play with the dough at will, in hopes of having her mimic me!
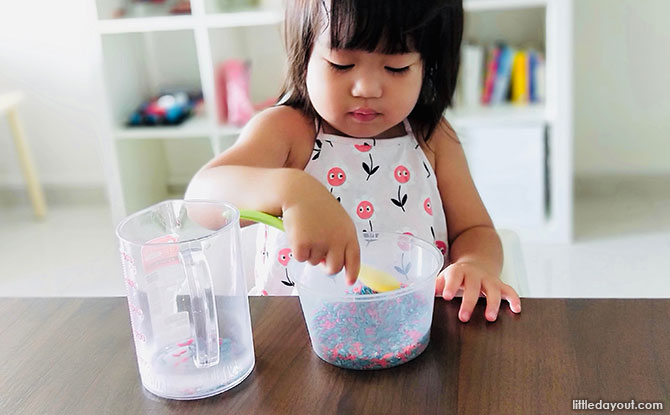
Coloured Rice
You’ll need:
1 cup of rice
1 tsp vinegar
Food colouring (Liquid or gel)
Ziplock bag or a dry plastic container
Method:
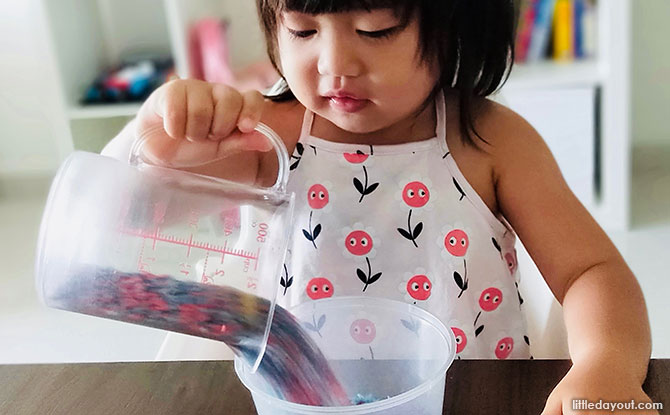
1. Pour one cup of rice into your Ziplock bag or container.
2. Stick a toothpick into your food colouring, swirl a generous dollop of it through the teaspoon of vinegar.
3. Drizzle the coloured teaspoon of vinegar over the rice.
4. Zip up the bag or pop the lid on your container, and give the rice and vinegar a good shake!
5. Remove lid, and voila!
6. Spread rice out on a plate or a cookie tray to dry. Once the rice is dry to the touch – if
the colour doesn’t transfer onto my finger, for example – it’s ready!
Sensory Bottles
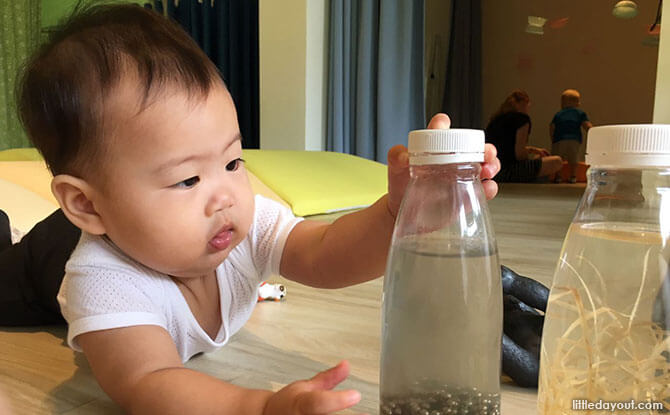
Sensory bottles are containers that are filled with various materials as a way to encourage non-messy sensory play.
Many children are easily overstimulated by tactile input or are too young to play with some materials for fear of choking or injury. This is where sensory bottles come in. They allow children to use their senses to better understand the world and their surroundings while keeping them safe and keeping clean up to a minimum.
Making the sensory bottles is very simple. Wash your favourite clear plastic bottle (if you don’t drink bottled water, you could use milk bottles), remove the label, and fill with your favourite items!
Items for a DRY sensory bottle could include, but are of course not limited to, Rice, Dry Pasta, Beans (Green or Red, for example), Bells, Saga Seeds, and even Coins.
Once the items of choice are inside the bottle, you can choose to seal the bottle shut with a glue gun or clear sticky tape.
Leave these sensory bottles out and about so your crawling baby or inquisitive toddler can get to them easily.
Let them roll or bash or shake the bottles, and watch as the objects within move, dance, and ring right before their very eyes!
Sensory Bottles are great for ALL ages.
Older children can take part in creating them for the little ones, and younger children get to experience materials that are too small for them!





![S.E.A. Aquarium: Guide To Marine Life Wonders With The Kids [Updated Guide 2025] S.E.A Aquarium: Guide To Marine Life Wonders With The Kids [Updated Guide 2025]](https://www.littledayout.com/wp-content/uploads/LDO-4-in-1-Key-Visual-Template-7-218x150.png)
