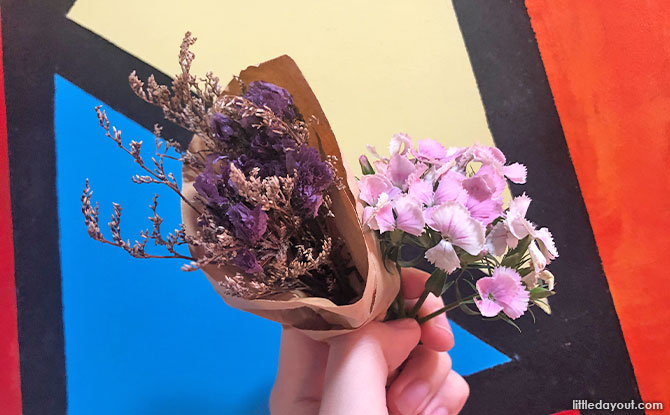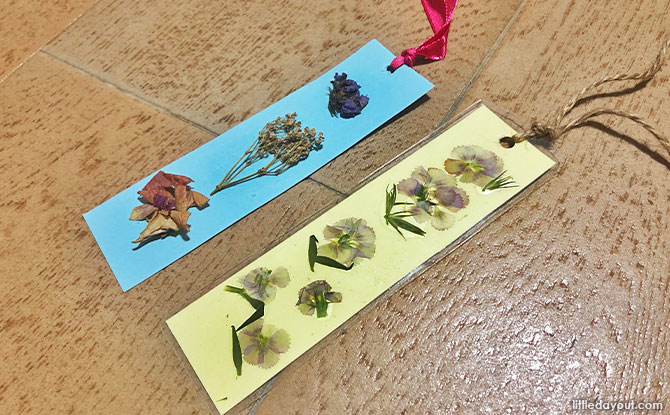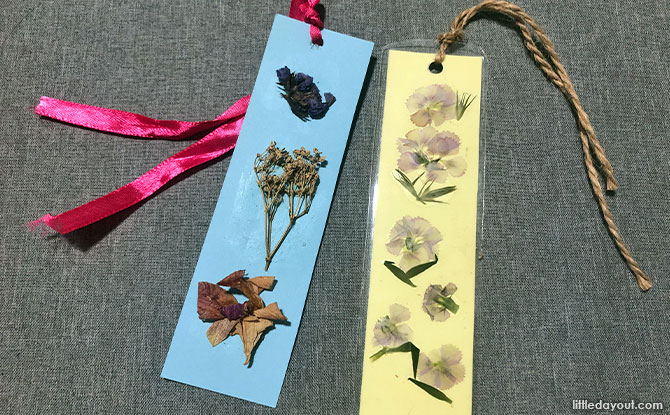
If you’re looking for an art project that is simple yet beautiful, consider a pressed flower bookmark! This DIY craft is one that takes a little bit of planning but has a very straightforward assembly and an impressive finished product
Here’s how you can make some pressed flower bookmarks.
Materials needed to make pressed flower bookmarks
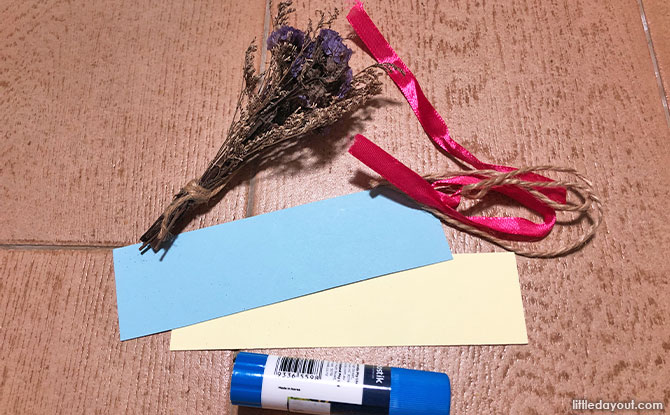
- Dried or fresh flowers
- Heavy books and weights
- Card stock paper
- Glue
- String
- Hole puncher
- Clear Contact paper or a lamination machine
How to make pressed flower bookmarks
1. Choose the flowers
Year-end Holiday Camps: Discover Fun and Exciting Camps for Kids; Book Early
Dec Fun: Get the Best Ideas for the School Holidays
There are a myriad of flowers and leaves that you can use for this art project, but do note that certain flowers will work better than others. When choosing flowers for this project, note the size, colour as well as shape of the flora and fauna that you pick.
Flowers that are easily flattened will probably work best for this project. Thicker or more rounded flowers may not flatten as easily, and flowers that are too delicate might fall apart.
2. Press the flowers
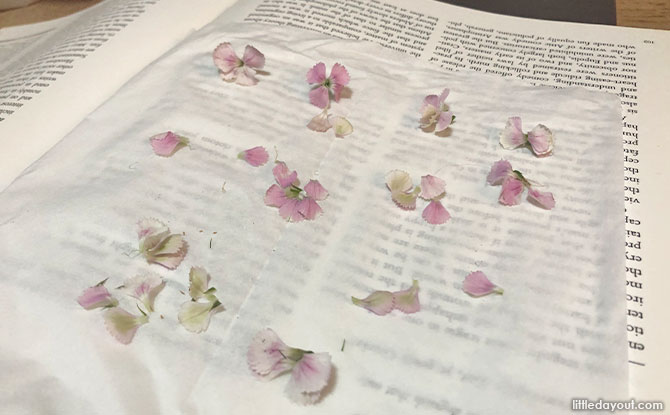
After you have chosen the flowers, it is time to press the flowers so as to ensure that they are ready for use. Place the flowers on a piece of paper in a thick, heavy book.
Ensure that the flowers are slightly spaced apart. Put another piece of paper on top of the book before closing it. Putting the flowers in between the paper ensures that the colours or moisture of the flower does not transfer to the pages of the book.
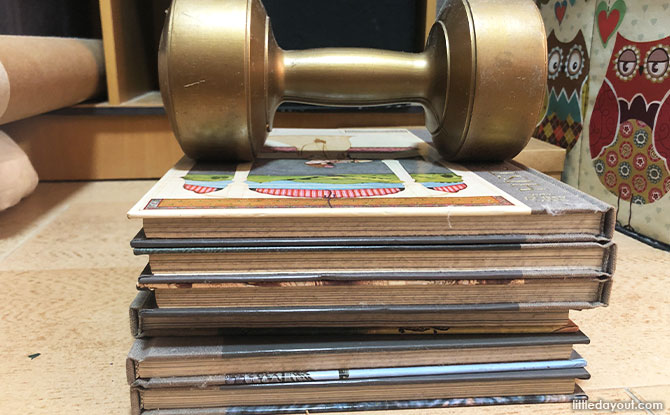
Stack a few more heavy books on top of the one with the flowers in it. You can also use a weighted dumbbell if needed. Wait at least two to four days for the flowers to be completely flat and dry.
3. Paste flowers onto paper
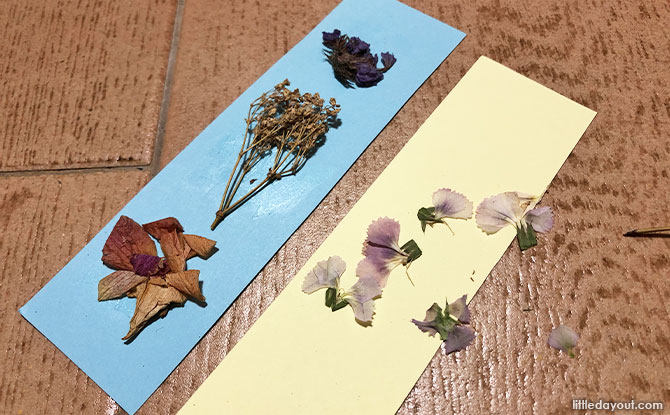
After the flowers are completely flat and dry, take your paper and cut it into the desired shape for your bookmark. Use glue and stick the flowers into any design and layout that you wish.
4. Put finishing touches on bookmark
If you wish to make a transparent version, cut a bookmark-shaped strip of clear contact paper and stick the flowers in between two other contact sheets to make a bookmark. Trim the edges accordingly after.
If you have a lamination machine, you can also laminate the bookmark to ensure that it lasts for a longer time.
Tie some string or ribbon at the top. Your bookmarks are now complete!


