It’s #sourdoughseptember , as touted by Real Bread Campaign that “life is sweeter with sourdough”. Sourdough has been a project/pet/staple during the COVID-19 lockdown for many around the globe. It is also the perfect challenge to take given the time in quarantine. For the brave who have embarked on the journey of making your own sourdough bread, well done! For those who have yet to conquer the gloopy mess or the flat loaves, fear not! This guide will help make your own sourdough bread.
As a sourdough baker and an instructor, I know the pitfalls of making sourdough from scratch. Each step is critical and the type of equipment used is essential. While the stages of bread baking are pretty standard, much patience, practice and praying is required for successful sourdough baking.
What is Sourdough Bread?
There are only four ingredients in sourdough – flour, water, salt and tons of microbes invisible to the eye. The microbes are also wild yeasts which will help the bread to rise. These microbes have commonly been replaced by yeast because of convenience and ease.
Year-end Holiday Camps: Discover Fun and Exciting Camps for Kids; Book Early
Dec Fun: Get the Best Ideas for the School Holidays
Since there are only very few ingredients, it is definitely much healthier than bread sold off-the-shelves with tons of additives and preservatives. Sourdough is also known to be a low GI food and does not cause sharp spikes in blood sugar levels. It is also vitamin and mineral rich with prebiotics and antioxidants. Sourdough is also considered high protein, considering the high-protein bread flour that goes into it. While preparation is tedious, all the effort is worth every bite.
Beginner’s Steps on How to Make Sourdough Bread
There are four main stages of making a sourdough bread. First is getting the levain active and mixing, second is bulk fermentation followed by preparation to bake and then baking. To yield a crusty, airy loaf, all steps are required to be followed.
Ingredients needed:
- 70g levain (20g starter, 25g flour, 25g water)
- 120g water
- 80 g Bread Flour, 95g All purpose Flour, 10g Rye, 4.5g Sea Salt (One teasp)
1. Prepare the levain with the sourdough starter
A strong starter is the foundation of your bread. You can either grow one or get it from a baker in the neighbourhood. Ask for one here. Feed it regularly with equal weight of bread flour and water, at least once a week and more frequently before you bake. When preparing the levain, your starter should be active.
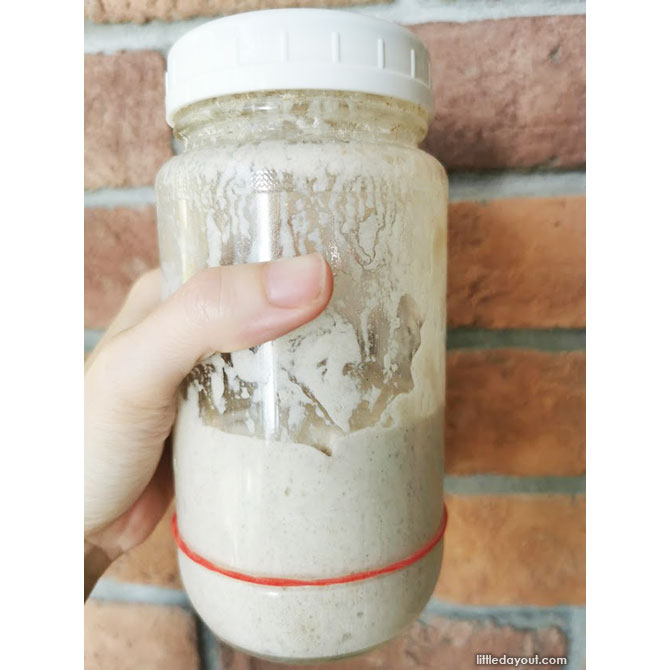
The levain is the portion of starter prepared for the loaf of bread. In our tropical climate, a strong levain doubles in height in 3 hours and triples in 4 to 5 hours. You can also see some bubbles which are signs of life. Don’t forget, you are dealing with microbes which are wild yeasts and good bacteria.
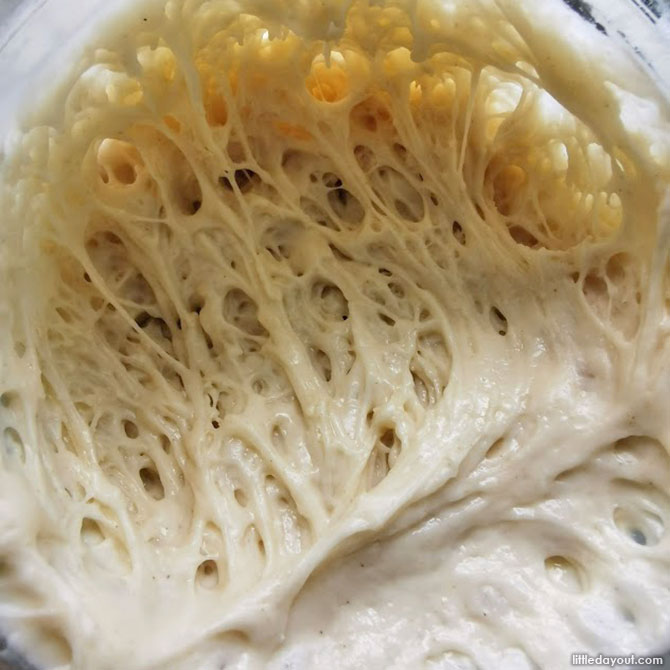
The levain should be sticky and slightly thick with plenty of gluten strands and air pockets.
2. Mix the flour and water
Whenever flour and water is mixed, ensure everything is well mixed. This takes at least 4 minutes of handmixing. Leave the dough for an hour. This gives the dough some time to develop flavour, and also prepares it for the easy addition of levain.
3. Add levain into dough
With a risen levain, add it into the dough and mix it well. Leave it for 30minutes. At this stage, bulk fermentation will begin. Bulk fermentation refers to the process in which the wild yeasts start working hard to help the dough rise.
As compared to yeasted breads, sourdough takes a lot more time to prepare. In Singapore’s climate, the total bulk fermentation time takes 4 to 4.5 hours, or 5 to 6 hours in an air-conditioned room.
4. Add just a spoonful of salt
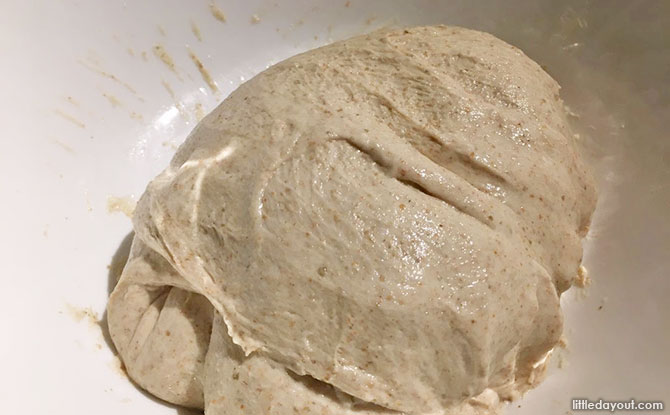
Add salt and mix well. The dough should feel smooth and relaxed after mixing. Leave it for 30 minutes The salt helps tighten the gluten and builds strength in the dough. Strength of the dough is required to contain the air pockets as the wild yeasts work their magic.
5. Fold every 30 minutes
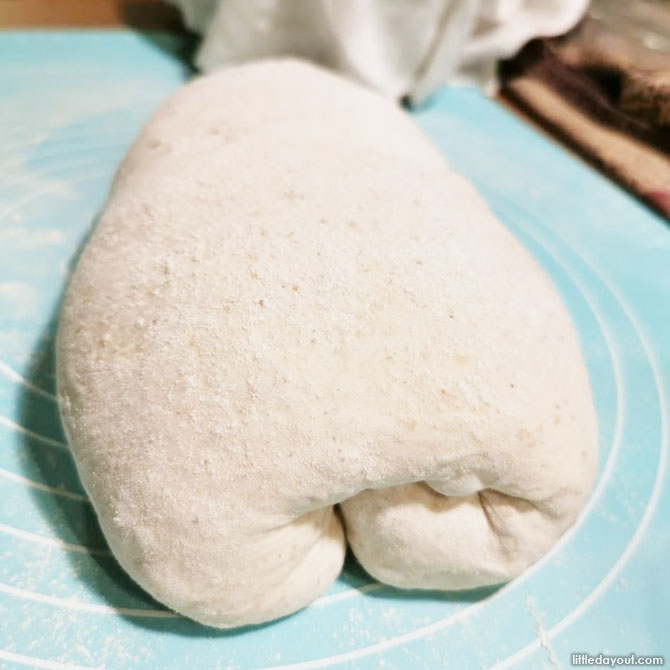
Sourdough is all about folding and not kneading. Folding aligns the gluten strands and builds strength in the dough to support the fermentation activity. There are a few types of folding – the envelope fold as well as the coil fold.
You can opt for either option.
Complete 4 sets of folds every 30 minutes until the dough feels light, airy with bubbles and expands in volume between 30 to 50%. You can choose to do more folds gently if the dough has not grown much in volume, or if it is still limp and flat.
6. Shape the dough
The dough is ready to be shaped when it is strong and in a concave shape. Use a bowl or colander lined with a layer of cloth. Dust it with rice flour.
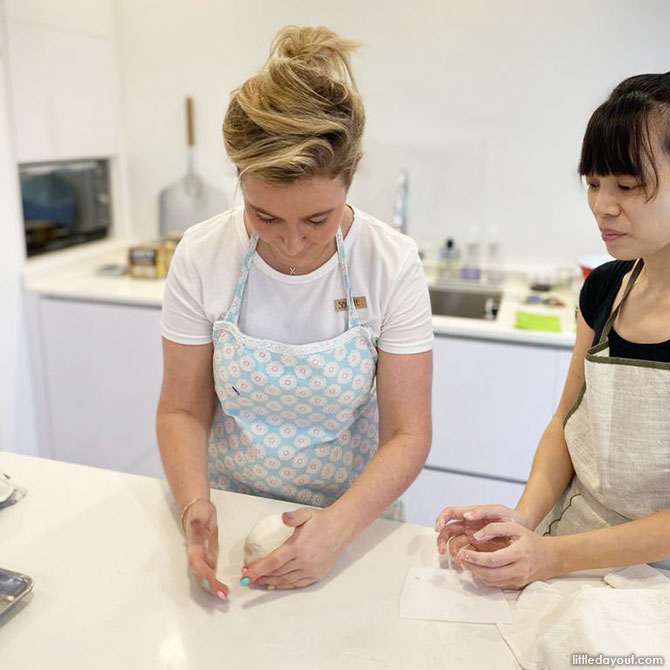
Then dust your worktop with some flour and tip the dough onto the surface gently. Use a dough scraper to help you gently lift up the bottom of the dough at each corner and fold it inwards. Then gently roll the dough over so that the smooth side of the dough is facing upwards. Using the bases of your palms powdered with flour, shape it like a ball with the help of your pinkies. Always keep the bases of your palms on the work surface.
When the ball-like dough is tight with tension showing on its surface, pop any huge bubbles that have emerged. Then use the dough scraper to help you invert it into the bowl or colander.
Shaping takes practise, so watch the video and practise whenever you can. Practice makes perfect!
7. Final Proof
Here the dough goes into its final proof. You can either proof it at room temperature for an hour or put it into the refrigerator for a cold proof of at least 4 hours or even overnight according to your schedule.
When final proof is complete, the dough should feel firm. A gentle poke would leave an imprint.
8. Scoring and Baking the sourdough loaf
Preheat the oven for an hour at 240 degree Celcius. Then invert the dough onto baking paper.
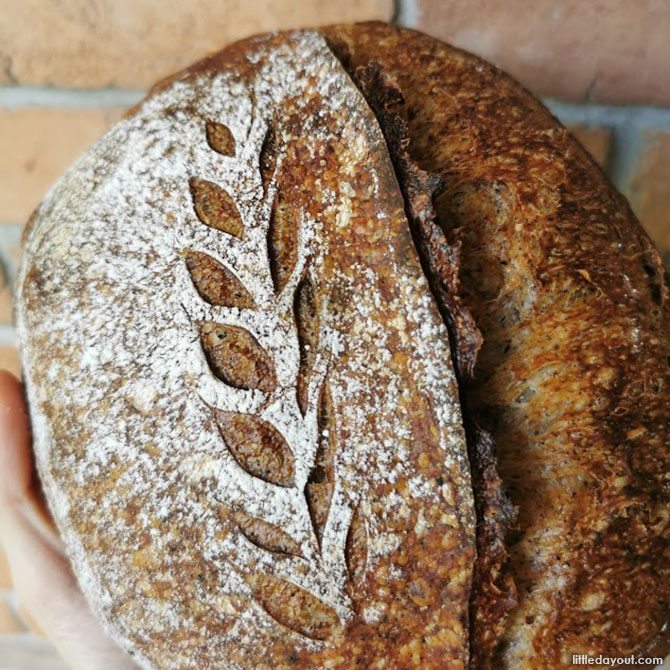
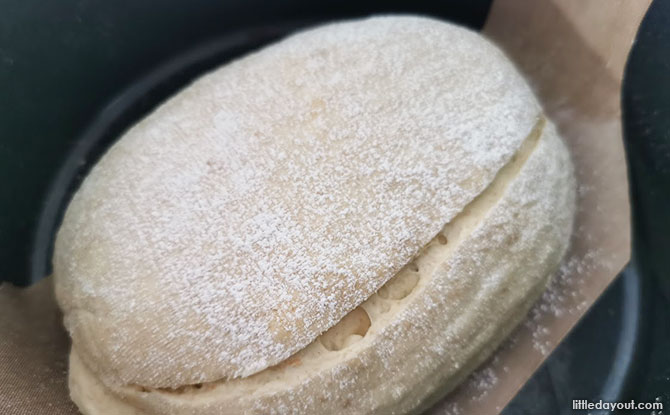
Score the dough with a sharp knife or kitchen scissors so it knows how to expand with a burst. You can do a simple slash across the dough with the blade at a 45degree angle.
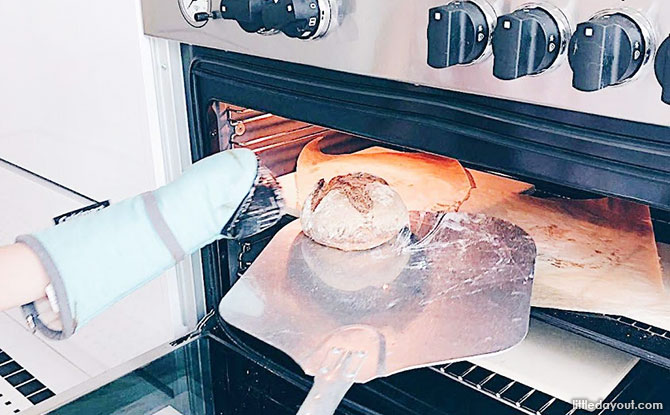
Put the scored loaf into the cast iron pot with lid on. If you don’t have a cast iron pot, you can also choose a stainless steel pot or put it on a pizza stone that is already preheated (together with the oven).
Bake the sourdough for 20 mins with the lid on. Then turn down the temperature to 225dc and remove the lid, place a tray of water into the base of the oven to generate steam. Bake for another 15 minutes.
For baking on a pre-heated pizza stone or baking steel, bake it for 240dc for 15 minutes and 210dc for 15 minutes. Ensure there is water in the oven to generate steam.
Ta-da! You have your very own crusty sourdough loaf!
Wait till it cools before slicing the loaf of sourdough bread. Serve it with some kombu butter, olive oil or avocado to savour the goodness of your very own homemade sourdough bread.
For more tips or information on sourdough classes, you can reach @thepetiteloafer or @minimakers.sg for details.


