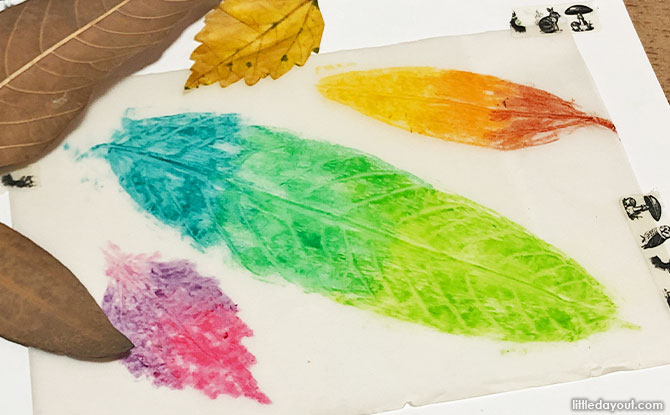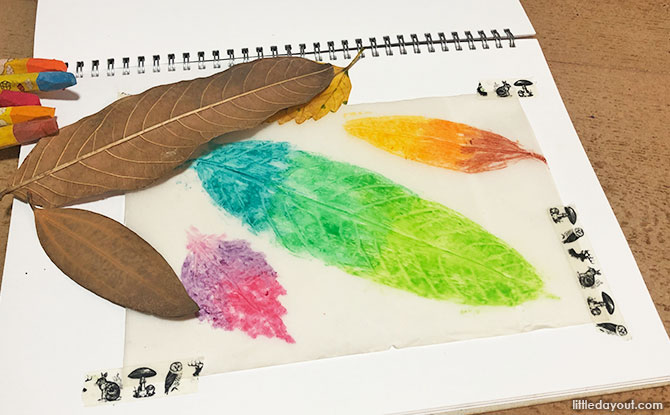
A piece that combines both art and science, leaf rubbing art is a simple yet interesting activity for kids to do.
This is not just a great way to create interesting patterns from nature itself, but it’s also an interesting way to facilitate conversations about the different parts of the leaf of the plant as the colouring highlights the different details of the leaves.
It is also a very versatile way of doing art as it can be done on a variety of materials for a different result each time. They can also explore the rubbing method on other textures around the area. Here is a simple tutorial on how to make leaf rubbing art.
Materials Needed for Leaf Rubbing Art
FREE FOR LITTLE DAY OUT PARENTS: Sign Up for a Free Trial with ACT 3 Academy to Find Out If Drama Classes are Right for Your Child
3 Recycling Adventures: Fun Ideas For Kids & Families
1:1 & Small Group English Lessons: How to Get Personalised, English Help
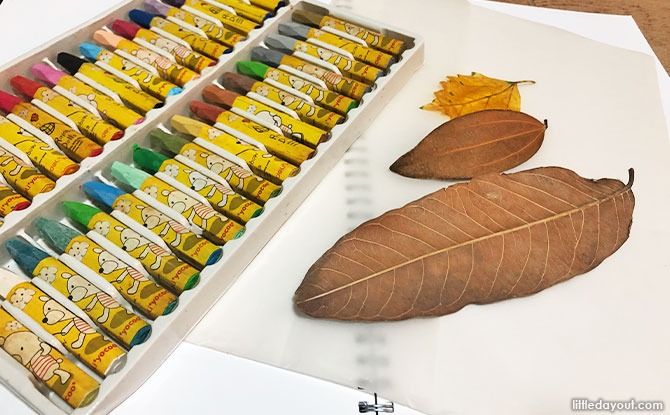
To get started on this activity, here are the materials that you will need:
- Leaves. Ensure that they are dry and large for the best effect.
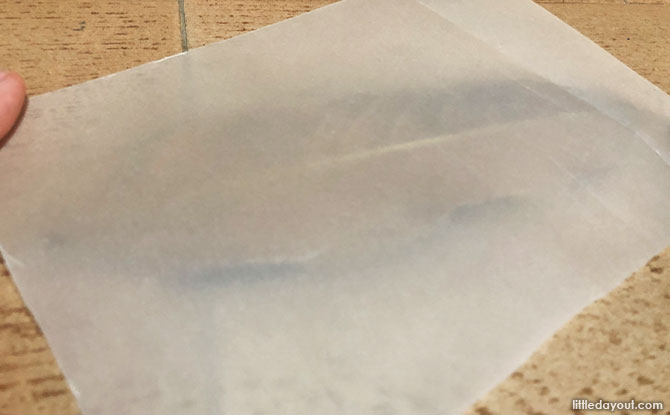
- Paper such as printing paper, tracing paper, wax paper or parchment paper
- Oil Pastels, crayons, colour pencils or all of the above.
How to make Leaf Rubbing Art
Leaf rubbing art is a pretty straightforward process and it can be done in these four simple steps.
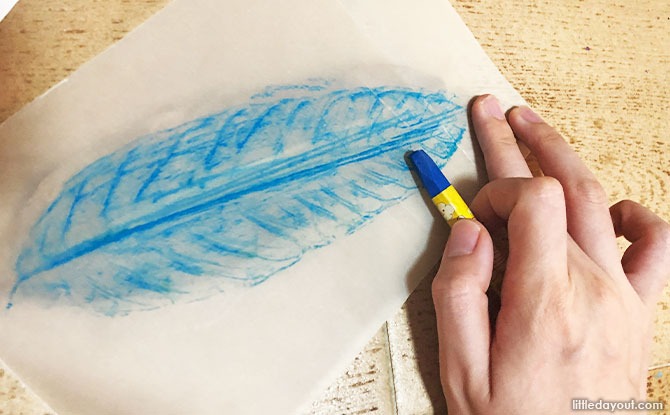
- Place your leaves face down under the piece of paper.
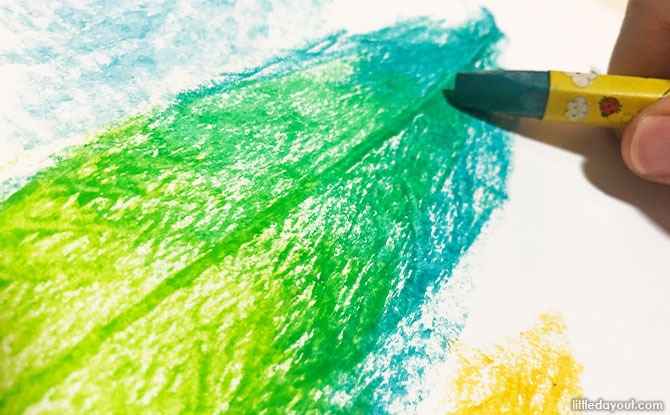
2. Hold each leaf in place while you rub an oil pastel over top of it, lengthwise. If your kid would like to make a colourful leaf, you can add another layer of colour or rub the colour in a separate part.
3. Encourage your kids to arrange the different leaves around to form patterns around the paper or cut them out and glue them separately onto a piece of decorative paper
4. You can choose to frame the final artwork or to keep it in an art sketchbook.
Leaf rubbing art game
This versatile art method can also be made into a game! Simply prepare a large piece of paper and gather 10 to 15 leaves and hide them under the paper. Kids can then take the crayons and start colouring the paper to try to find all the different hidden leaves.


