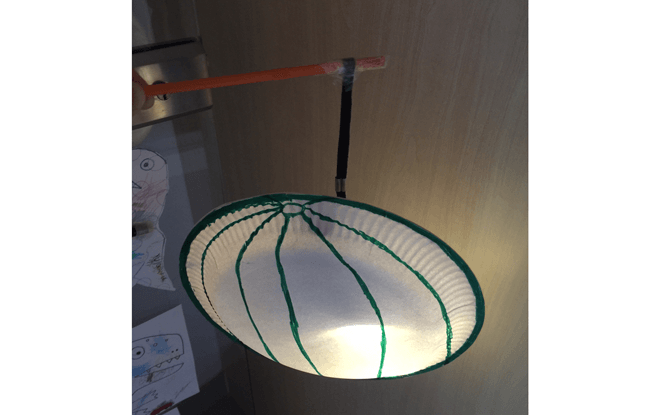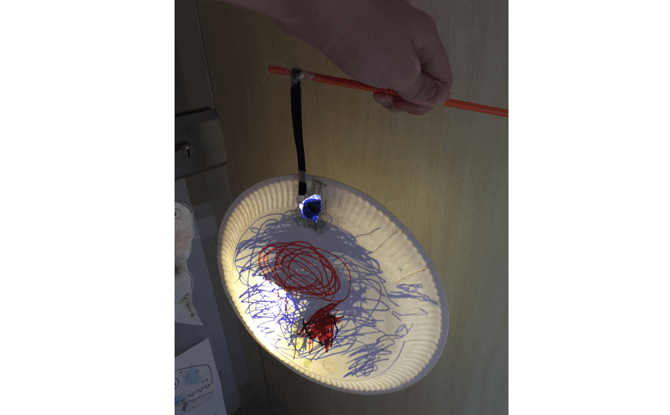
The Mid-Autumn Festival 2016 is just around the corner. If you want to make a custom lantern with the kids that they can call their own, here’s one way to do so. Little Day Out Shop contributor Jacqueline Zhang shares with us this simple craft that you can do with your kids.
How to Make A Homemade Lantern
Materials you would need:
1. Two paper plates
2. A small torch
3. A straw
4. A disposable chopstick
5. A ribbon if the torch doesn’t have a strap
Stationery needed:
1. Glue
2. Scissors
3. Tape
4. Markers for decorating the lantern
Here are the steps:
1. Decorate the convex sides of the plates with markers.
2. Affix the torch into the concave side of one plate. Cut a small hole on the plate to allow you to turn on and off the torch, depending on where the button is. If the torch has a strap, make sure the strap is left outside the plate to attach it the straw to form the handle for the lantern.
3. Glue the plates together.
4. Insert the disposable chopstick into the straw to reinforce the straw and make it stiff.
5. Make a loop with the ribbon if the torch doesn’t have a strap.
6. Tape the strap or ribbon loop to the straw.
7. Your homemade lantern is complete!
FREE FOR LITTLE DAY OUT PARENTS: Sign Up for a Free Trial with ACT 3 Academy to Find Out If Drama Classes are Right for Your Child
3 Recycling Adventures: Fun Ideas For Kids & Families
1:1 & Small Group English Lessons: How to Get Personalised, English Help
If you enjoyed this idea, check out more of Jacqueline’s creative ideas at the Little Day Out Shop.


![S.E.A. Aquarium: Guide To Marine Life Wonders With The Kids [Updated Guide 2025] S.E.A Aquarium: Guide To Marine Life Wonders With The Kids [Updated Guide 2025]](https://www.littledayout.com/wp-content/uploads/LDO-4-in-1-Key-Visual-Template-7-218x150.png)


