Art and craft are a great way to explore colours, textures, shapes.
They are also a creative way to explore how the world around us works, through imaginative storytelling.
Here are some cool ideas for super-duper easy craft projects to do with the really young preschoolers. And guess what? Only three ‘ingredients’ are needed!
Let’s get crafty!
FREE FOR LITTLE DAY OUT PARENTS: Sign Up for a Free Trial with ACT 3 Academy to Find Out If Drama Classes are Right for Your Child
3 Recycling Adventures: Fun Ideas For Kids & Families
1:1 & Small Group English Lessons: How to Get Personalised, English Help
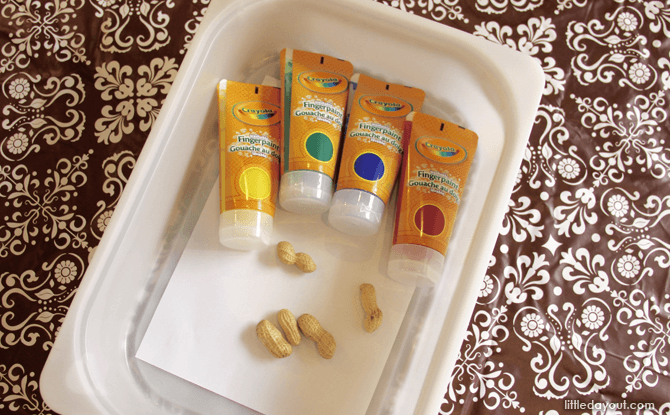
Nuts about Painting
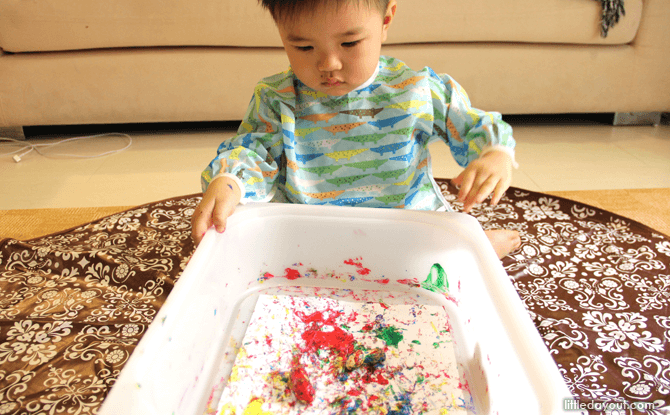
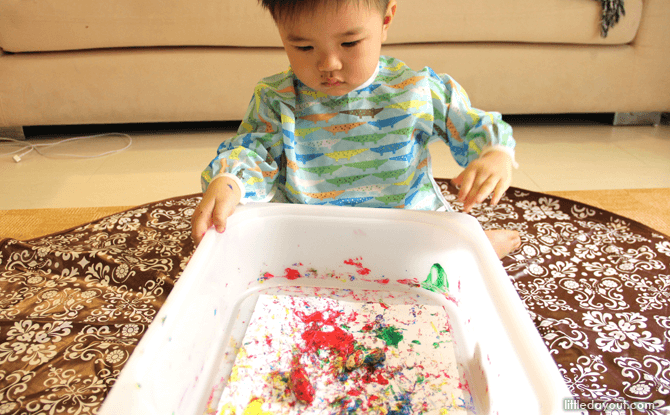
Our two-year-old went into mad fits of giggles over this one, so this is a sure winner. This is a good chance to let your tot explore new foods and textures.
You need:
- Non-toxic paint of various colours (we used washable finger paint)
- Groundnuts
- Deep tray
You may want to secure the piece of paper to the bottom of the tray with blu-tack or sticky tape first. We also put our tot in a painter’s apron before we began!
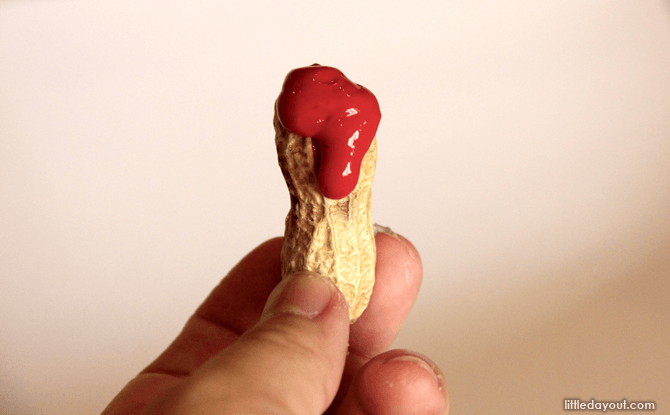
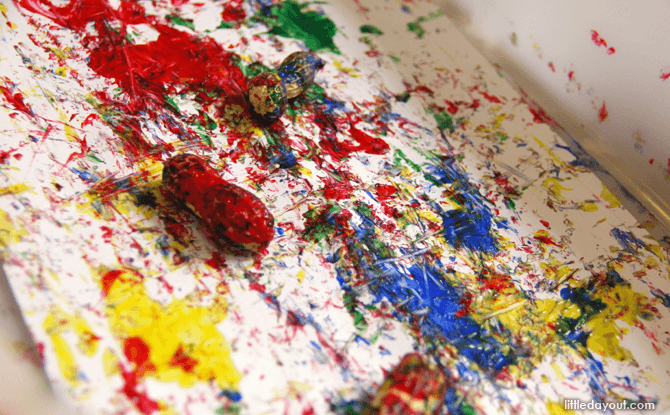
Coat one groundnut with paint, then toss it onto the paper in the tray.
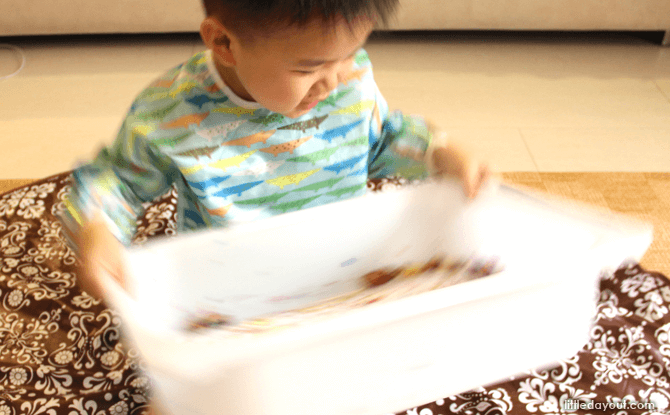
Let your toddler give the tray a good shake, back and forth, and watch the nut fly around, leaving colour all over in the tray. He loved it!
Add a new groundnut coated in a new colour of paint every now and then, to add to the mad mix.
Ta-da! Just your regular Picasso.
Pasta Tambourine
As another food-themed craft project, this one explores textures and sound.
You need:
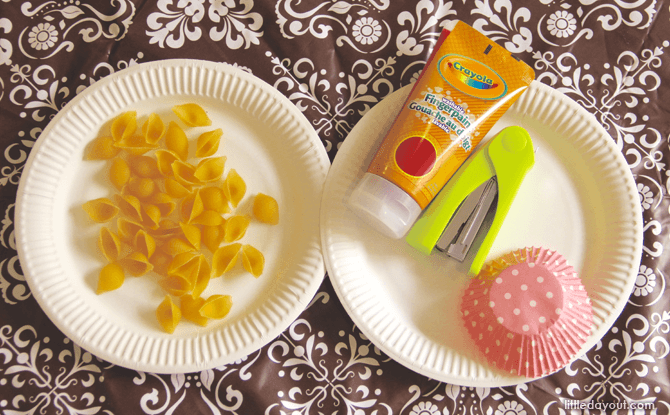
- Dry pasta (we prefer shell pasta, it makes the most noise)
- 2 paper plates
- Stapler
- Finger paint (optional)
- Cupcake liners (optional)
- Sticky tape (optional)
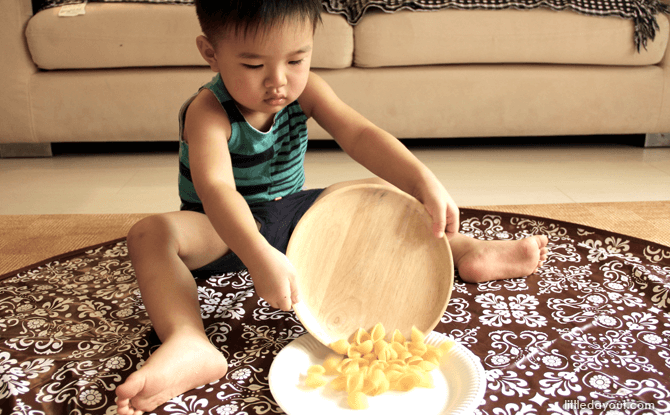
Get the tot to help to pour pasta onto a paper plate (hear the crisp sounds!), then cover with second paper plate.
Staple the edges neatly together.
Be careful not to leave big gaps between staples, otherwise the pasta might fall out. Also, choose bigger pasta shapes to make things easier for yourself!
We also used sticky tape to smooth over the backs of the staples to ensure no sharp staples stick out into little hands.
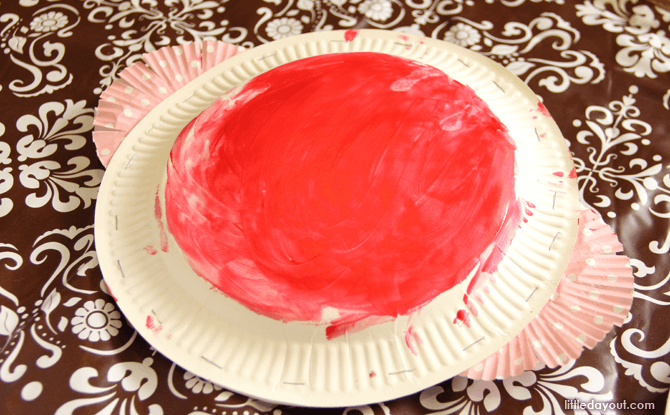
We asked our bouncy tot to leave a paint handprint on the tambourine (where your hand is supposed to smack!).
But he ended up excitedly smearing the red finger paint all over. Oh well. Rule number of crafting with toddlers – our plans CHANGE. We just roll with it.
Add cupcake liners to accessorise, with cut ends like tassles, if you wish; a tambourine with wings!
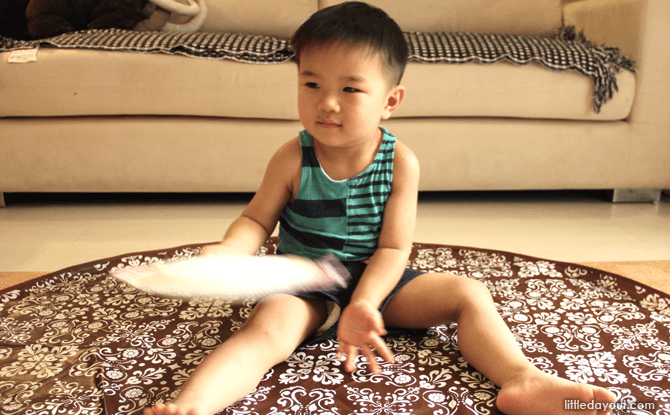
Shake it up, shake it up!
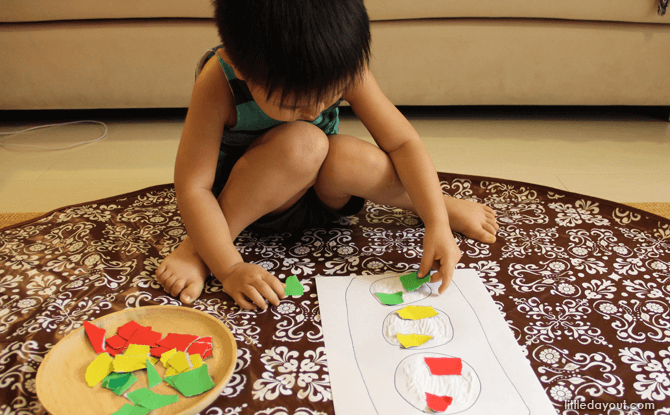
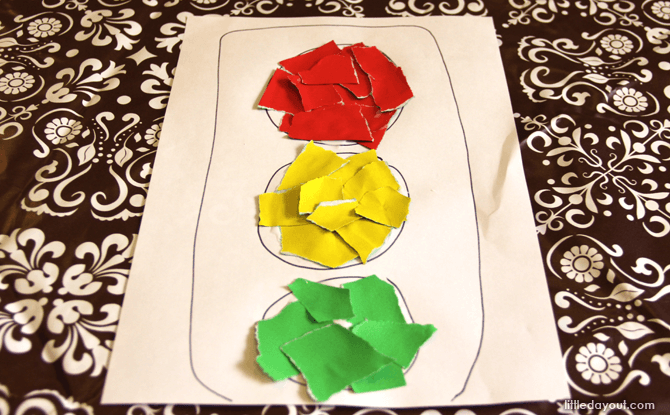
Traffic Light
Here’s a good way to introduce how a traffic light works and to explore primary colours.
“What happens when the traffic light turns red? We stop!” And so on.
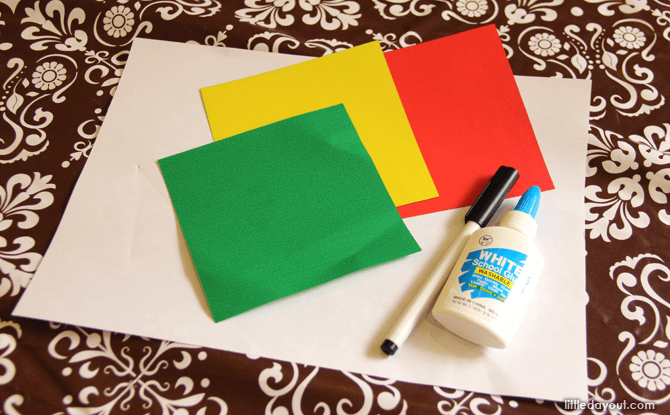
What you need:
- Coloured paper – red, yellow, green
- Marker
- Glue
Get your child’s help to tear the coloured paper up – a nice hand-eye coordination activity.
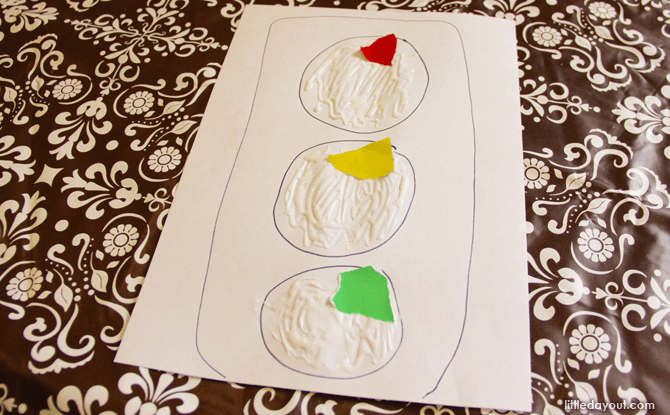
We started off by marking the traffic light with the right coloured paper to start our tot off.
You can either let your child dot glue on each bit of paper, one at a time, or simply spread glue onto the entire area of the traffic light.
It’s fun, and allows him to explore the texture and feel of torn paper, as well as the motion of pasting paper.
You can also choose to use different coloured paints and let your child paint on pieces of paper with a paintbrush, instead of using coloured paper.
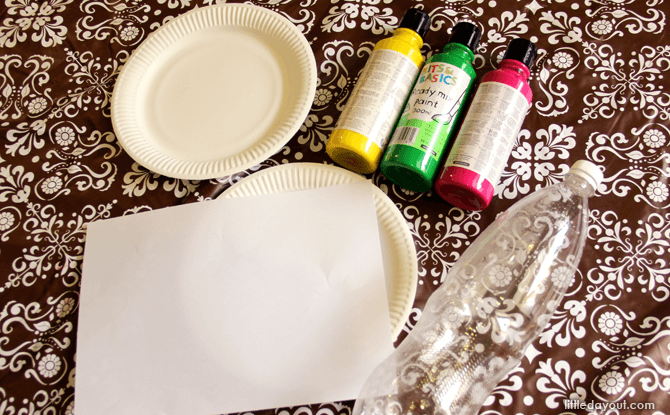
Soda Bottle Flowers
This activity uses a recyled soft drink bottle and paints. Really easy.
What you need:
- Non-toxic paint
- Recycled soda bottle
- Paper plates
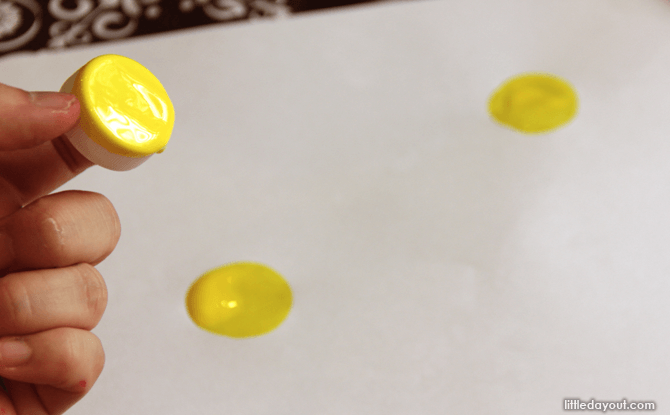
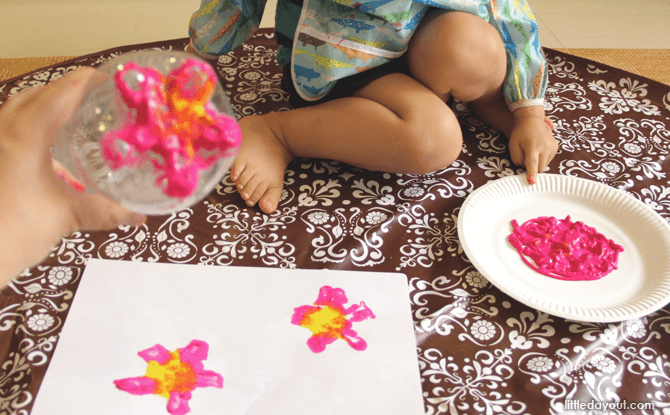
Use the bottle cap to dip into some paint, and let your child stamp-paint it on paper to make the centre of the flower.
Next, let the tot dip the bottom of the soda bottle in paint, and stamp the colour on some paper to make the flower petals.
Pipe Cleaner Finger Puppets
Pipe cleaners are flexible and useful in so many ways. Just use your imagination, and you could come up with really fun finger puppets.
What you need:
- Googly eyes
- Pipe cleaners
- Glue
- Accessories eg. bowtie (optional)
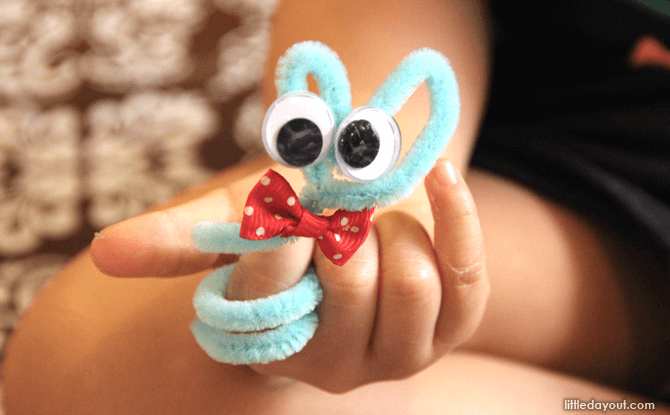
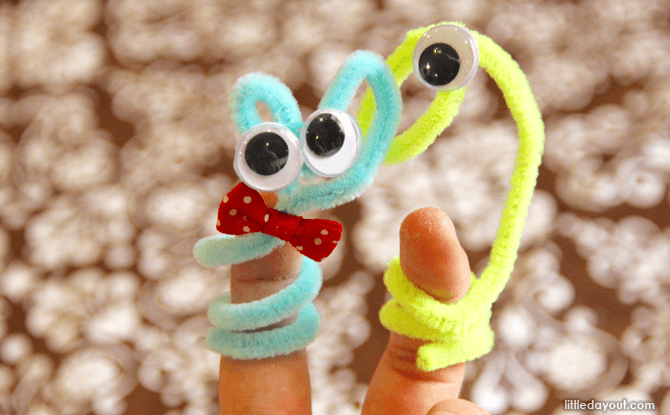
Our little one requested for a blue rabbit and a neon yellow snake.
Twist the pipe cleaner into the shape you want, glue the googly eyes and bow tie on, and allow to dry.
Twirl the pipe cleaners around the finger, and we’re in business!
Matchy Washi Tape Sticks
This is really simple to do, and a memory game can be made out of it.
What you need:
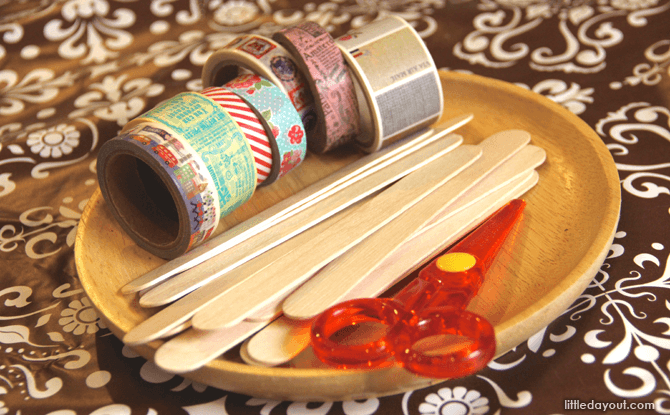
- Washi tape of various designs
- Jumbo popsicle sticks (or tongue depressors)
- Scissors
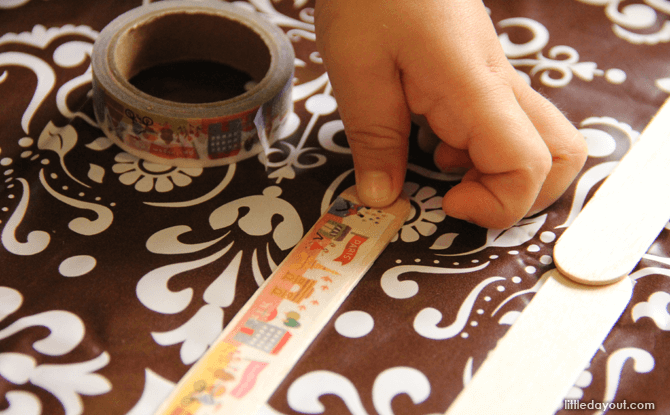
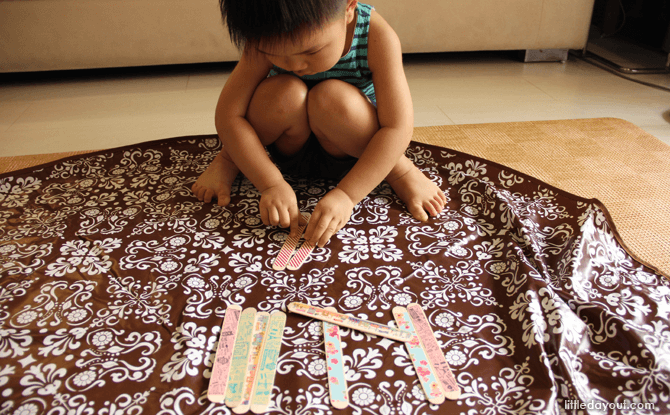
Let your tot help to cut a length of washi tape, and let him paste the tape onto the stick.
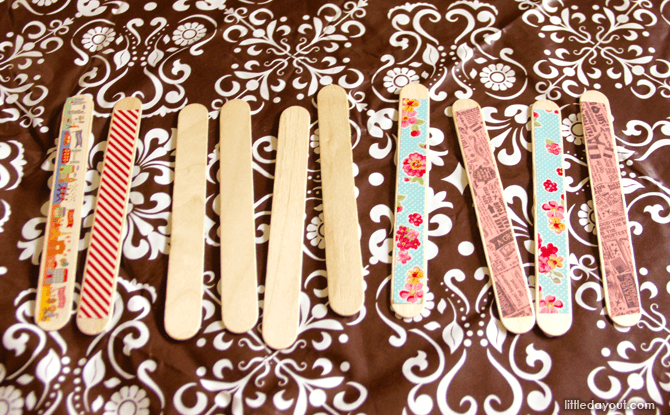
Paste the same washi tape design on two sticks. Make pairs of sticks with the same design.
You can use the sticks to make a memory game.
Jumble up the designs, and ask your child to memorise the position of the matching sticks.
Then turn the sticks face-down. Get him to turn up the sticks which match.
If he gets it wrong, put the stick face-down and try again, until all the sticks are face up.






![S.E.A. Aquarium: Guide To Marine Life Wonders With The Kids [Updated Guide 2025] S.E.A Aquarium: Guide To Marine Life Wonders With The Kids [Updated Guide 2025]](https://www.littledayout.com/wp-content/uploads/LDO-4-in-1-Key-Visual-Template-7-218x150.png)
